
Learn all the secrets to a perfect spatchcocked roast turkey with this step-by-step recipe! Yields perfectly juicy turkey for a fraction of the time it typically takes to roast a turkey.
Save this recipe for later using the ‘save to recipe box’ button. If you make it, please let me know by leaving a comment + star rating below the recipe card. This only takes moments and helps support my website so much!
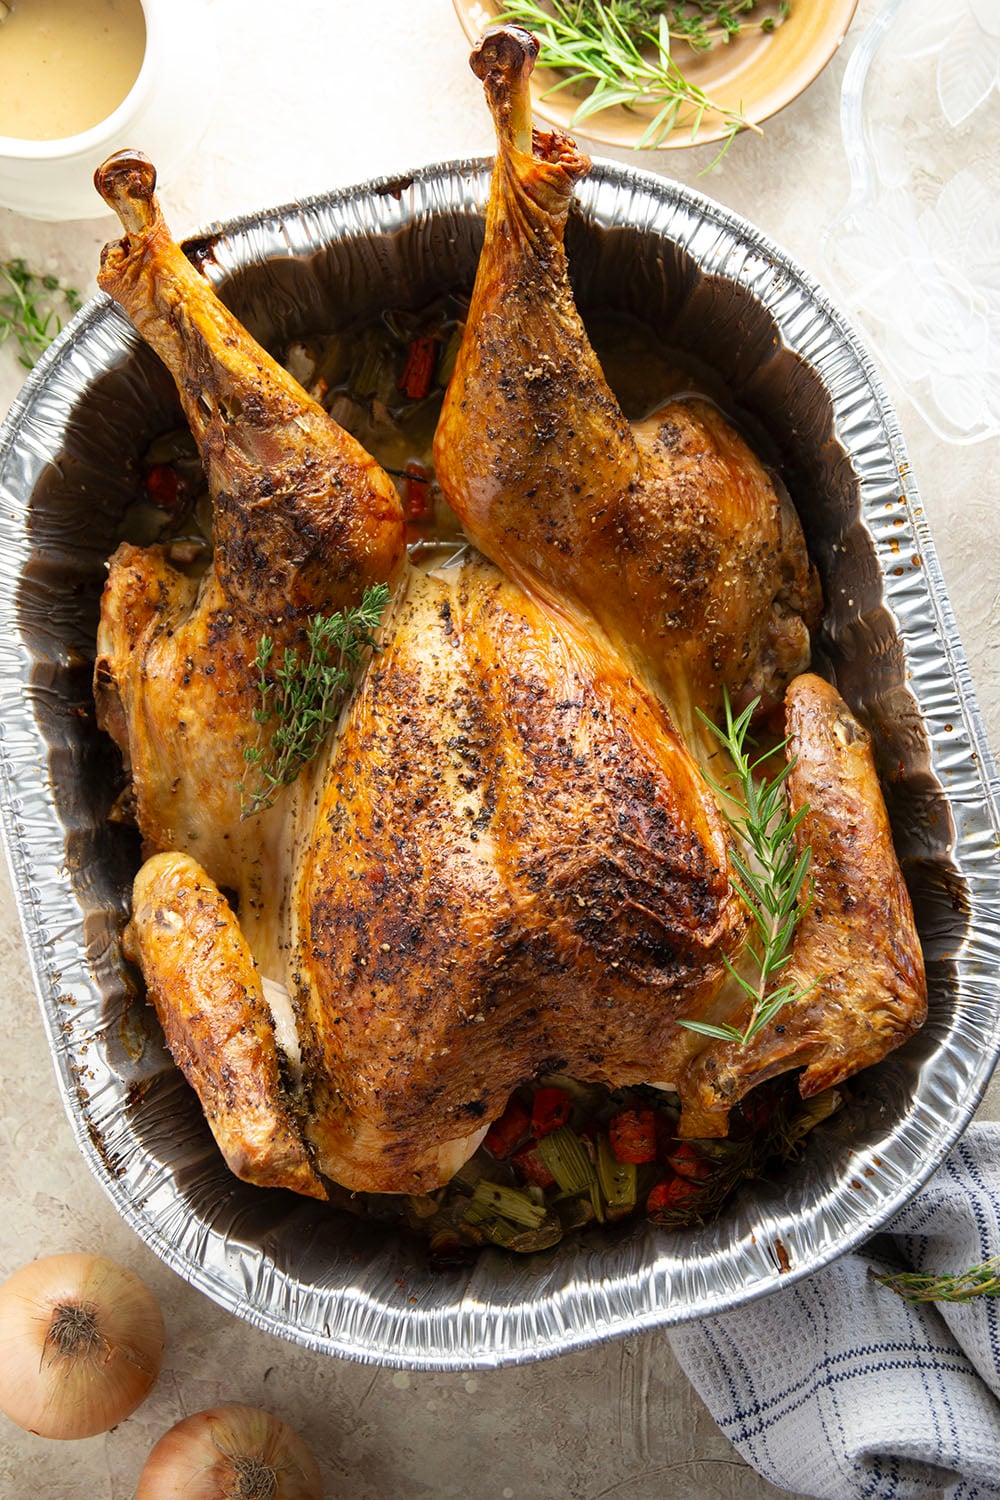
Get in gang, we’re spatchcocking our turkey for Thanksgiving this year! In all its juicy, crispy-skinned glory.
I’m sure I’m not the only one who struggles with oven space on Thanksgiving every year, and that’s exactly where this method of roasting comes in. Simply put, spatchcocking means to remove the backbone from the turkey so it lays flat, thus cutting the roast time approximately in half.
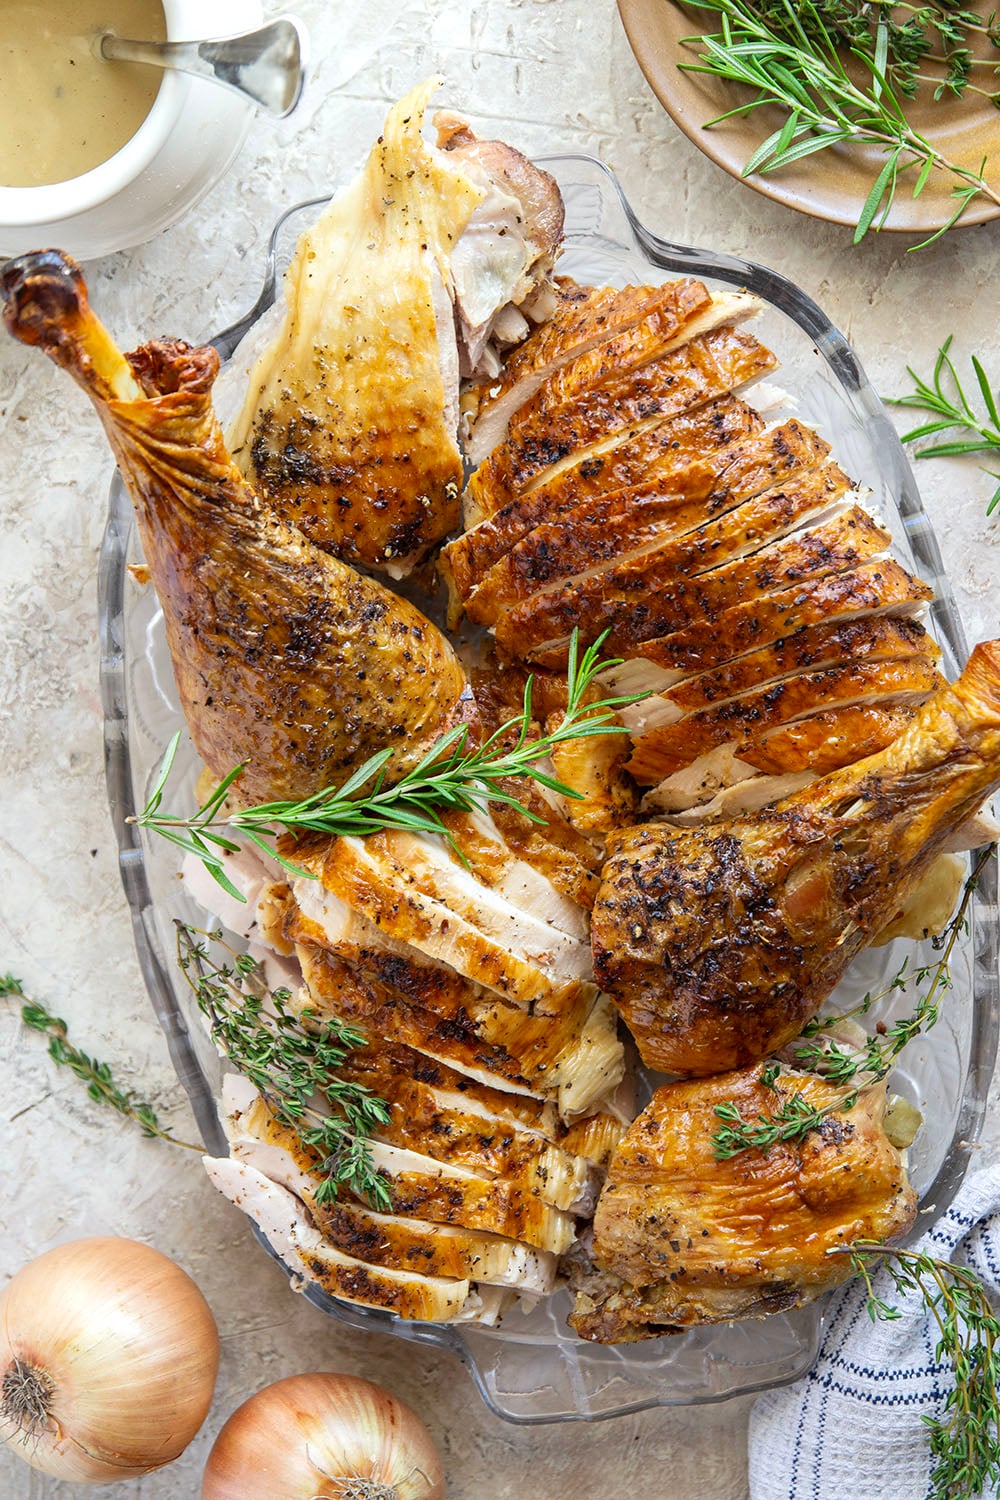
I walk you through each and every step to fabricate the turkey for this recipe and I promise it’s so much easier than it sounds! Once you try this method of roasting a turkey you won’t ever want to go back.
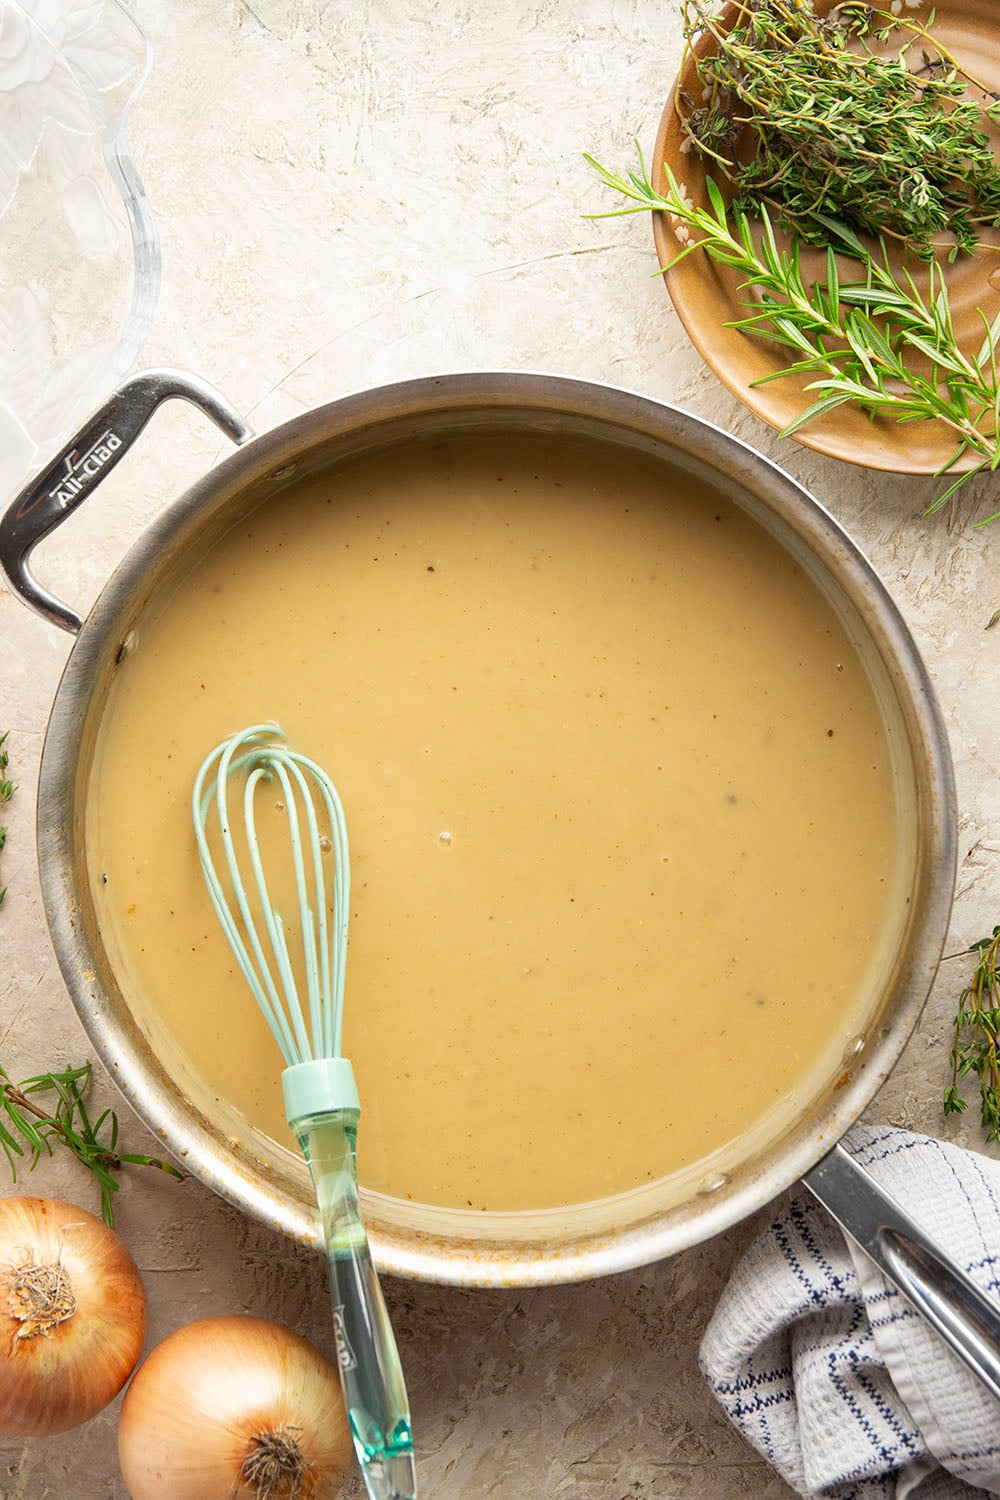
Did I mention we’re making our own scratch-made gravy today too?? Stock and all, folks, cause Thanksgiving requires the best.
This Turkey Features…
- Step-by-step photo tutorial for how to spatchcock
- A simple flavorful herb rub
- A moist and juicy texture
- Smooth and flavorful homemade gravy
Making the Turkey
(scroll down to the bottom of the post for the full recipe)
Ingredients You Will Need
- Whole turkey
- Yellow onion
- Carrot
- Celery
- Thyme
- Rosemary
- Vegetable oil
- Spices
- Turkey or chicken stock
- Unsalted butter
- All-purpose flour
Equipment You Will Need
- Kitchen shears
- Roaster pan or large sheet pan
- Roasting rack (you can also use an oven-safe metal cooling rack)
- Kitchen thermometer (this is an essential for roasting turkey)
- Carving knife
Choosing Your Turkey
You will need a 14-18 lb turkey for this recipe. I recommend choosing your turkey weight based off of how many people you are expecting to feed and how many leftovers you want.
A 14 lb turkey will feed 9-10 people. If you would like leftovers, I recommend bumping the weight up to 18 lbs.
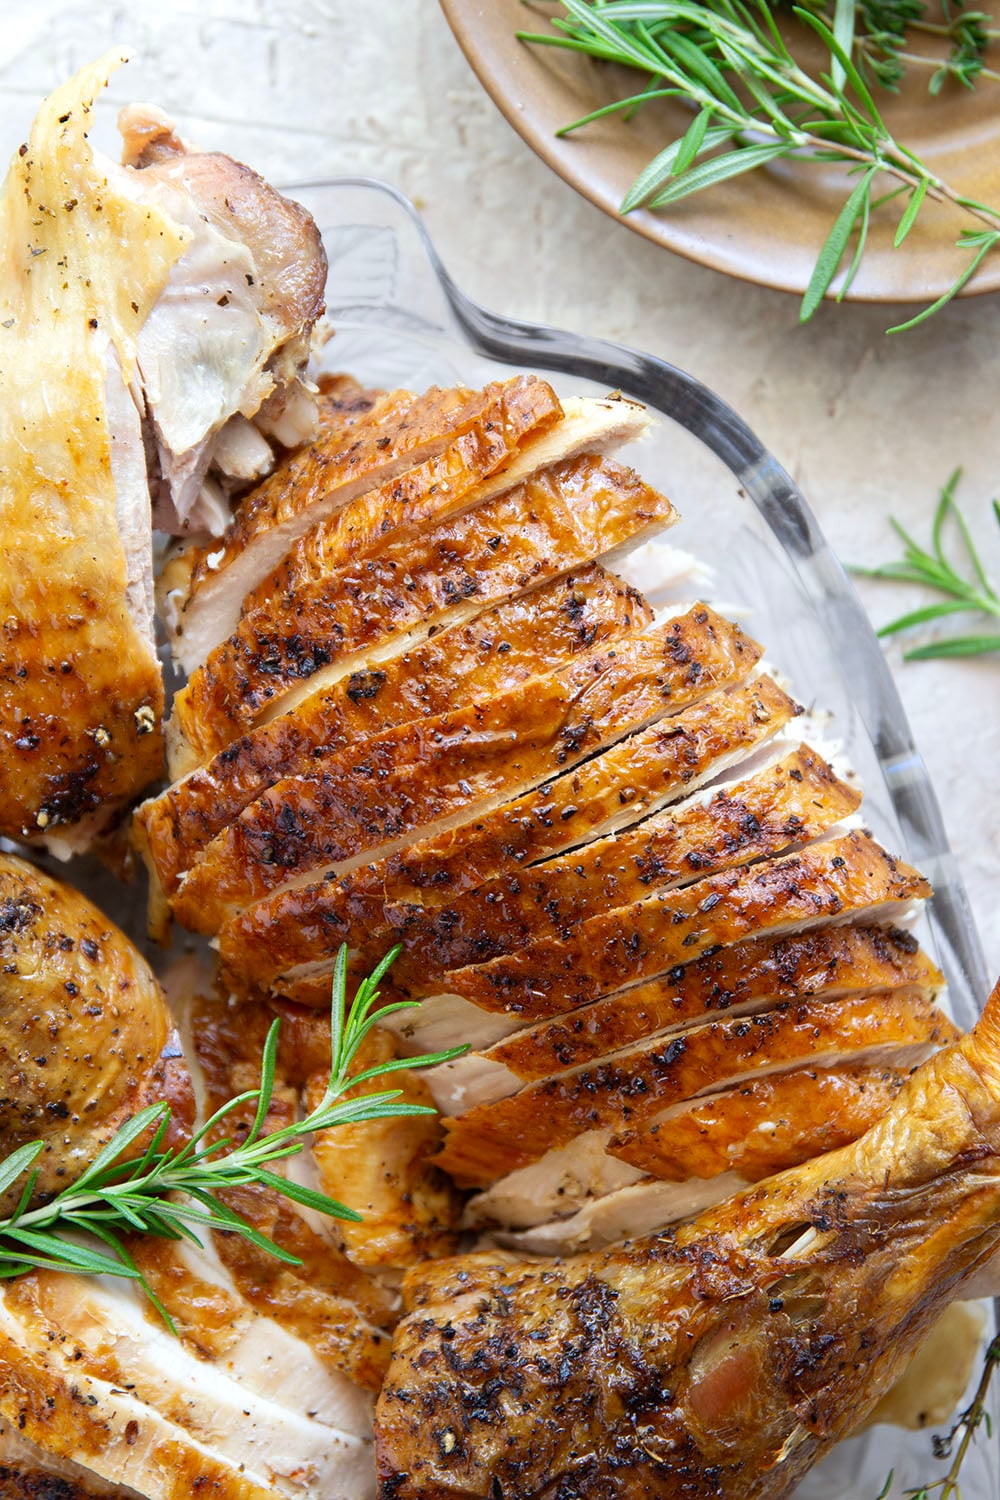
Tips for Perfect Spatchcocked Turkey
- Remove turkey from fridge 1 hour before roasting – this helps the turkey come to room temperature a bit and gets it ready for roasting.
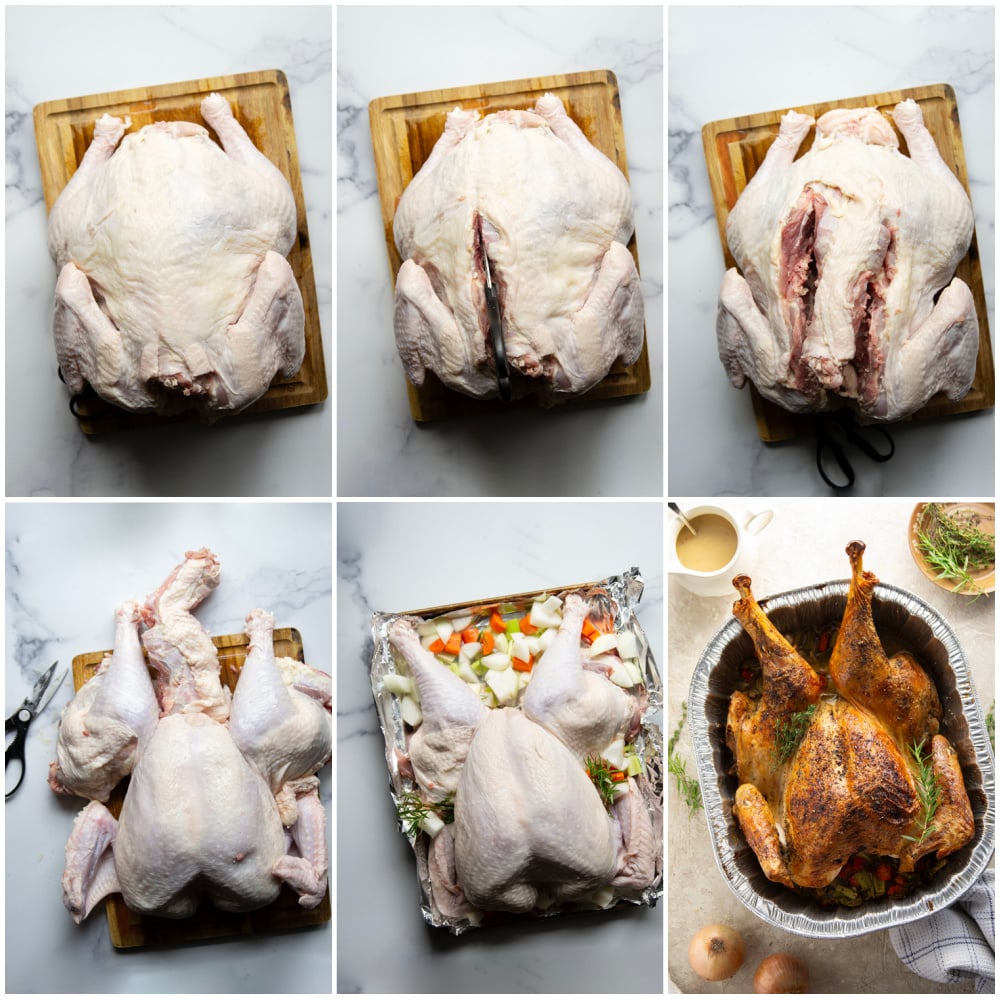
- Place chicken breast side-down to remove backbone – turn the turkey so the tail is facing you and feel with your hands until you find the backbone.
- Use a kitchen shears for removing backbone – I find it’s easier to cut with a kitchen shears for this step versus a chef’s knife.
- Follow picture tutorial – you will find a step-by-step photo tutorial for cutting the backbone out at the end of this post.
- Flatten turkey – once the backbone is removed, flip the turkey over and use your hands to press the breasts until the bird lays flat in a way that most certainly looks inappropriate, but this IS what you’re looking for.
- Choose the correct pan – you can use a large sheet pan or a disposable roaster pan depending on the size of your turkey. The most important part is that the turkey has enough room to lay flat without hanging over the edge of pan.
- Prepare pan – scatter the aromatics in the bottom of pan and set an oven-safe roasting rack on top for the turkey to rest on.
- Rub turkey with seasonings – I use a simple mix of salt, pepper, dried thyme, rosemary, and rubbed sage.
- Roast turkey at a high temperature on bottom rack – because the turkey is roasting for less time, a temp of 425F is essential for getting a crispy exterior.
- Roast turkey 1-1/2 to 2 hours – the turkey is done when a kitchen thermometer inserted in the thickest part of breast registers 155F and the thigh registers 165F.
- Rest turkey 15 minutes before carving – this rest time will ensure that all the juices stay locked in the turkey.
Make Ahead Instructions
You can spatchcock the turkey several days in advance for easy assembly the day of. Store the spatchcocked turkey in a sealed plastic bag in refrigerator until ready to roast.
You can also make the stock for the gravy up to a week in advance. See details further below.
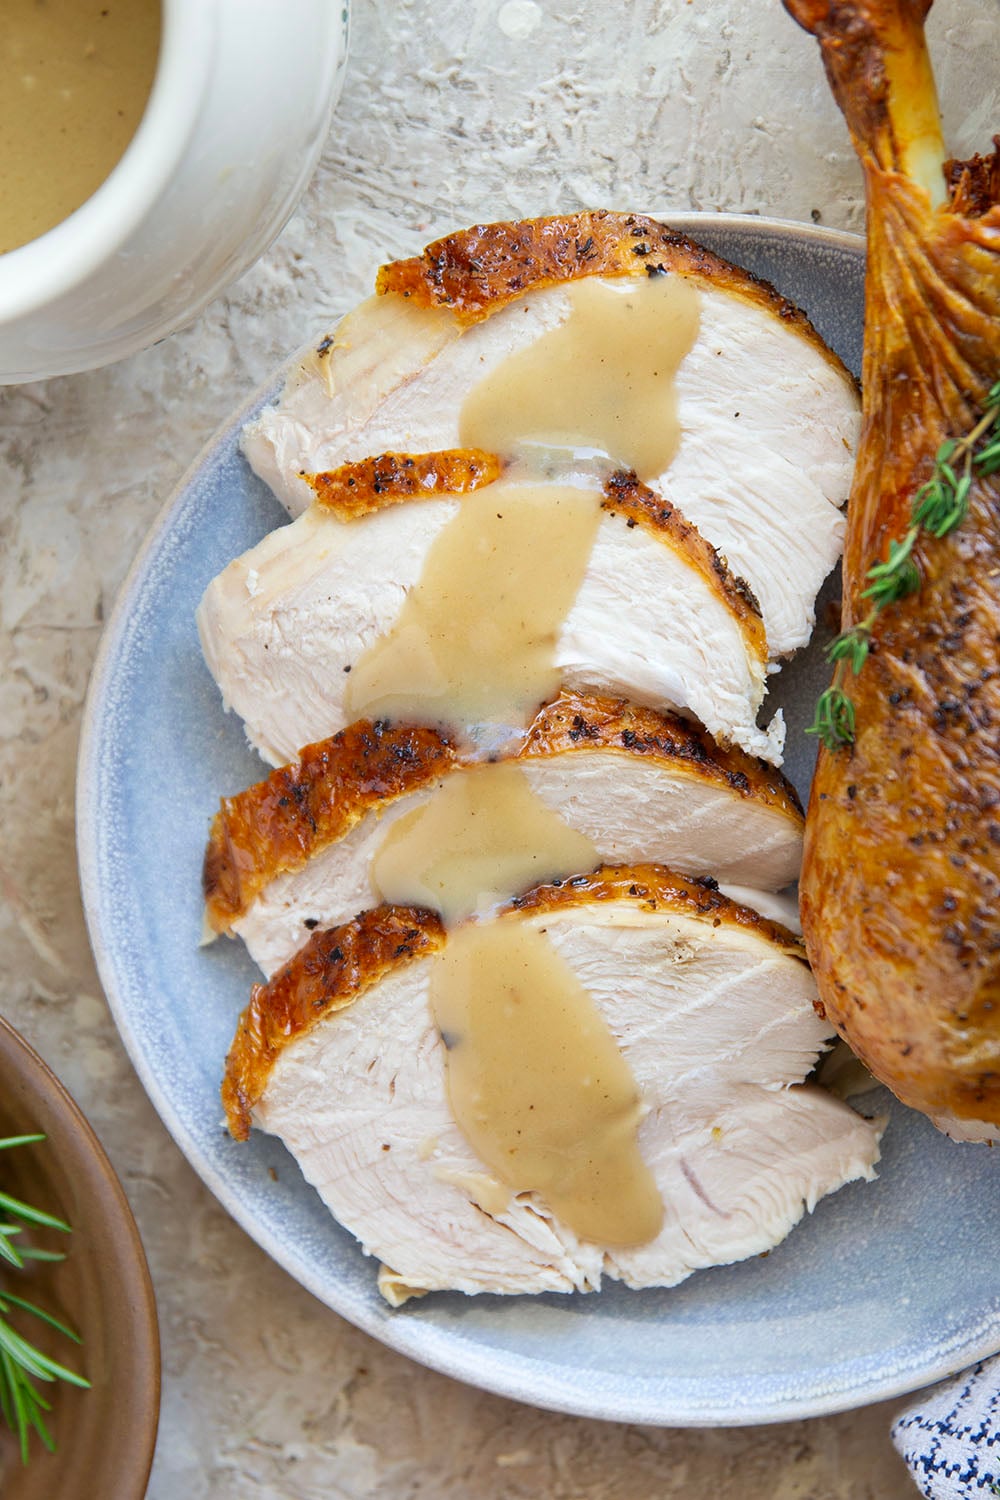
Tips for Perfect Gravy
- Use the backbone – this is the flavor base for the gravy and it also puts this part of the bird to good use.
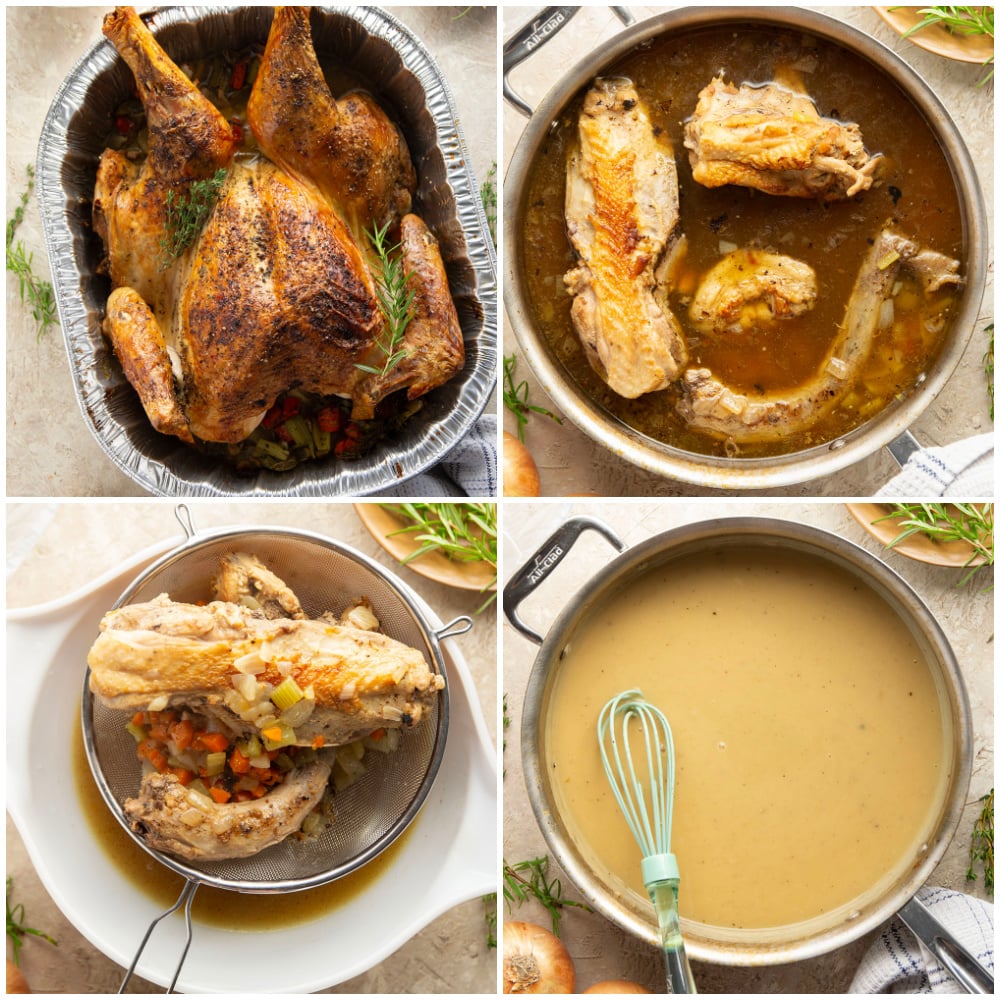
- Make a stock – start by searing the turkey backbone, then the aromatics, then add chicken or turkey stock and allow to simmer covered for 30 minutes to make a slightly concentrated stock for the gravy.
- Strain stock – set a strainer over a bowl and pour stock mixture into strainer. Discard the neck + aromatics and set aside the stock for the gravy.
- Make a roux – a roux consists of equal parts fat and flour cooked until golden brown. This will be the thickener for the gravy.
- Add 2 cups turkey stock to roux – save the remaining stock for another use or for making more gravy later.
- Cook gravy until thickened – the gravy is done when it can coat the back of a spoon.
- Make stock in advance – you can make the stock for this gravy up to a week in advance. When ready to make your gravy, proceed with step 6 in recipe to build the roux and the rest of the gravy.
Storing and Freezing Turkey
Leftovers of this turkey store extremely well! Store leftovers in refrigerator up to 6 days or freeze up to 2 months.
There are endless ways to use turkey leftovers but we especially love putting them in soups, salads, sandwiches, or any casseroles. Use it like you would chicken.
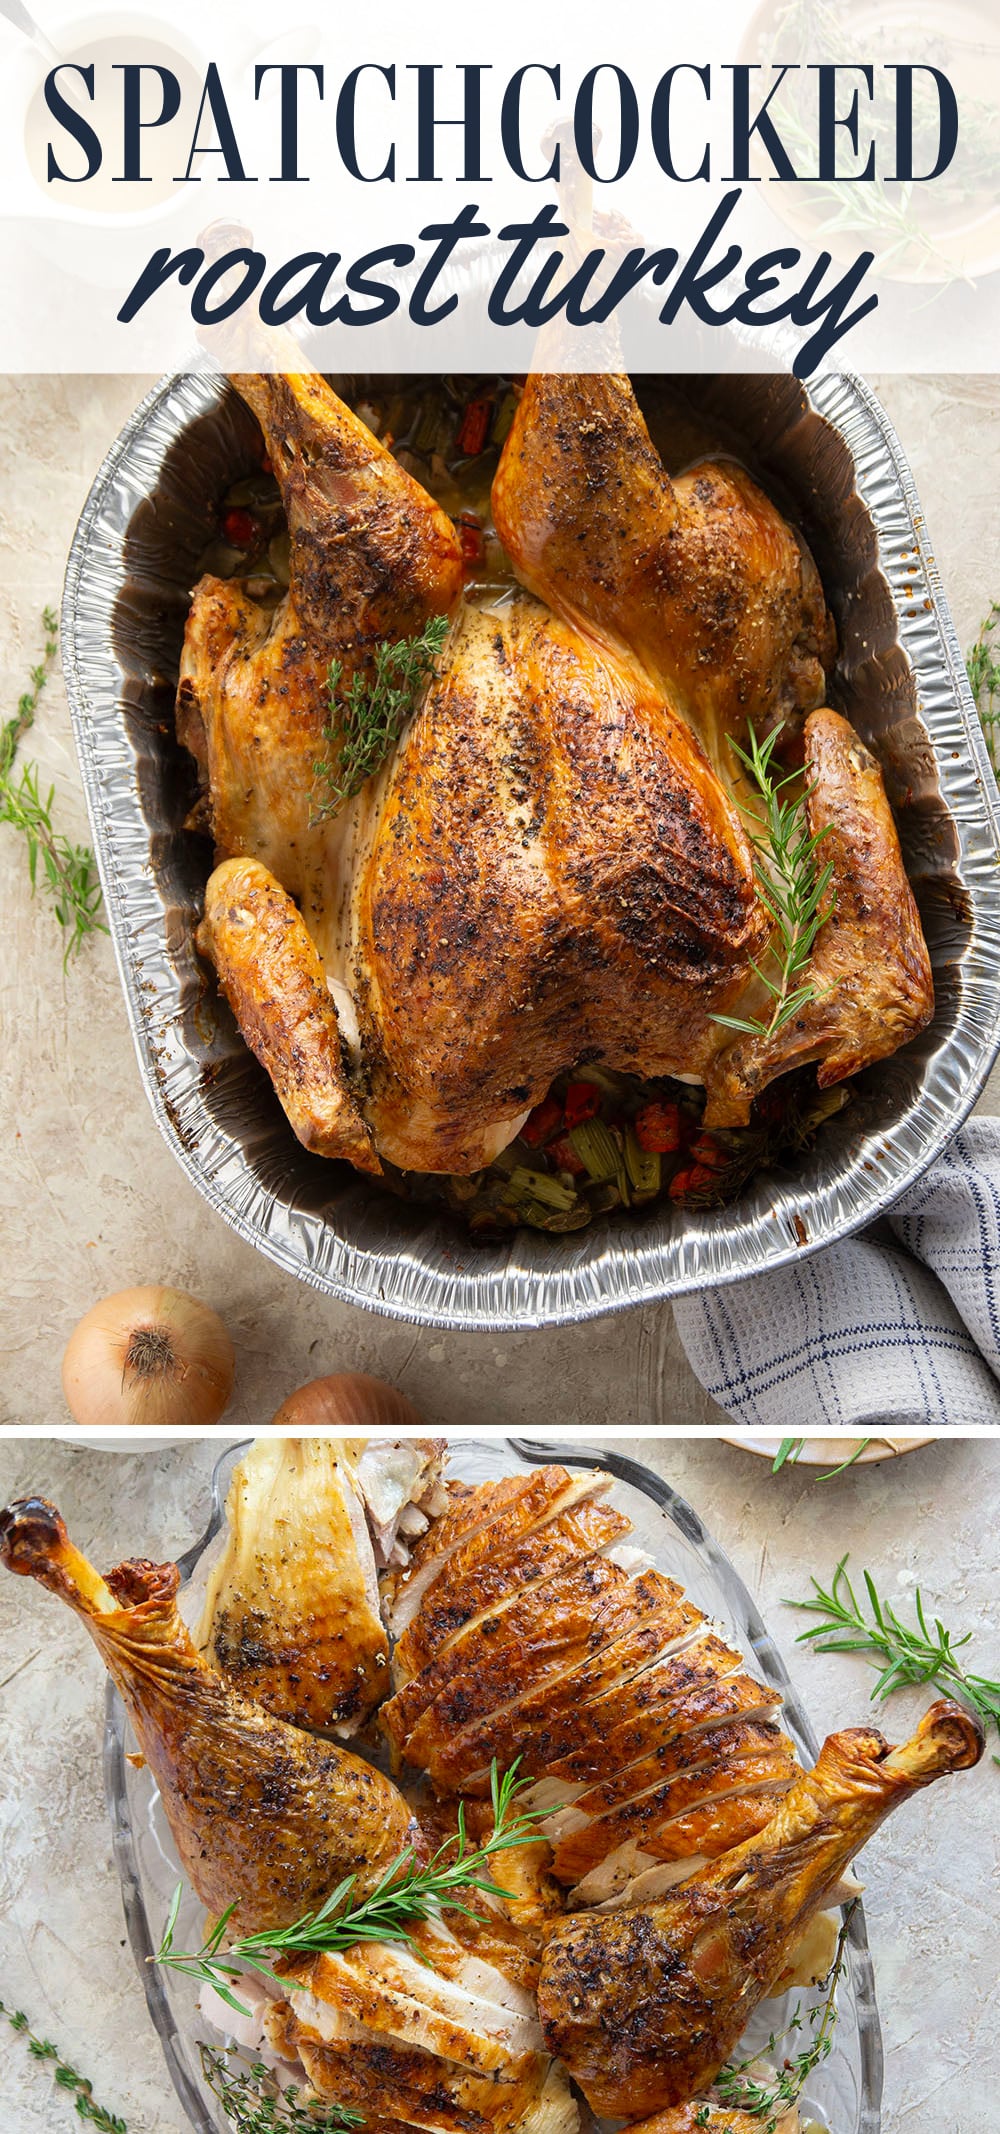
Try these recipes for any leftover turkey!
- Turkey Pot Pie Soup
- Butternut Squash Turkey Salad
- Sundried Tomato Turkey Focaccia Sandwich
- Poblano Turkey Chili
- Apple Pesto Turkey Sandwich
Save this recipe for later using the ‘save to recipe box’ button. If you make it, please let me know by leaving a comment + star rating below the recipe card. This only takes moments and helps support my website so much!
Spatchcocked Roast Turkey
This recipe may included paid links. As an Amazon Associate, I earn a commission from qualifying purchases.
Ingredients
Spatchcocked Roast Turkey
- 1 (14-18 lb) whole turkey, neck and giblets removed
- 2 cups yellow onion, diced into 1-inch cubes
- 1 cup carrot, diced into 1-inch cubes
- 1 cup celery, diced into 1-inch cubes
- 2 bunches thyme sprigs
- 2 bunches rosemary sprigs
- 2 tablespoons vegetable oil
- Kosher salt and pepper
- 2 teaspoons dried thyme
- 1 teaspoon dried rosemary
- 1 teaspoon dried rubbed sage
Gravy
- 1 tablespoon vegetable oil
- 1/2 cup yellow onion, diced into 1-inch cubes
- 1/4 cup carrot, diced into 1-inch cubes
- 1/4 cup celery, diced into 1-inch cubes
- 4 cups turkey or chicken stock
- 1/4 cup unsalted butter
- 1/4 cup all-purpose flour
- Salt and pepper to taste
Instructions
Spatchcocked Roast Turkey
- Remove the turkey from the fridge 1 hour before you plan to cook it to bring it to room temperature.
- Adjust oven rack to bottom and preheat oven to 425F. Scatter onion, carrot, and celery in an even layer in the bottom of a large disposable roasting pan or foil-lined regular large sheet pan. Arrange thyme and rosemary sprigs on vegetables and place an oven-safe wire rack on top. Set aside.
- Turn turkey onto a large cutting board and pat dry all over with paper towels. Turn the turkey so it is facing breast-side down with the tail facing you. Take a kitchen shears and begin cutting up the left side of the backbone until you get to the end (refer to picture tutorial at bottom of post for a visual) Begin cutting up the right side of the backbone until you get to the end. Wiggle the backbone to loosen it at the end until it snaps off (do not discard the backbone – we'll use it for gravy later) Flip the bird so it is breast-side up and use the heel of your hand to press down on both breasts until you hear a cracking noise and the bird lays flat.
- Rub turkey all over with vegetable oil and season well with salt and pepper. Combine thyme, rosemary, and sage in a small bowl and rub all over turkey.
- Place turkey breast-side up on prepared wire rack, gently flatten, and tuck the wings underneath bird.
- Roast turkey at 425F 1-1/2 to 2 hours until the breasts register 155F and the thighs register 165F on a kitchen thermometer. Allow turkey to rest 15 minutes before carving and serving with gravy.
Gravy
- Make the gravy while the turkey roasts. Chop the backbone into 2-inch pieces and lightly season with salt to prepare for gravy.
- Heat a large skillet or Dutch oven over medium-high heat. Once pan is hot, add oil and swirl to coat bottom. Add turkey pieces to pan and sear pieces all over 4-5 minutes until golden-brown. Remove turkey pieces from pan and set aside.
- Keep pan set over medium-high heat and add onion, carrot, and celery to pan drippings. Sauté vegetables 3-4 minutes until onion is translucent.
- Pour turkey or chicken stock into pan and use a wooden spoon to scrape up any browned bits. Add turkey pieces back to pan and bring broth to a simmer over medium-high heat. Reduce heat to low, cover pan, and allow to simmer 30 minutes, stirring occasionally.
- Set a strainer up over a large bowl. Pour turkey/vegetables into strainer and discard, reserving broth.
- Melt butter in same pan over medium heat. Whisk in flour and cook 2-3 minutes until golden-brown. Slowly begin adding 2 cups turkey broth liquid, whisking constantly until gravy is smooth (save remaining broth for another use).
- Cook gravy 3-4 minutes over medium heat until bubbly and thickened. Season gravy with salt and pepper to taste and serve warm with carved turkey. Enjoy!
Notes
Nutrition


Leave a Reply