
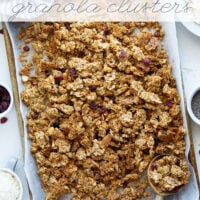
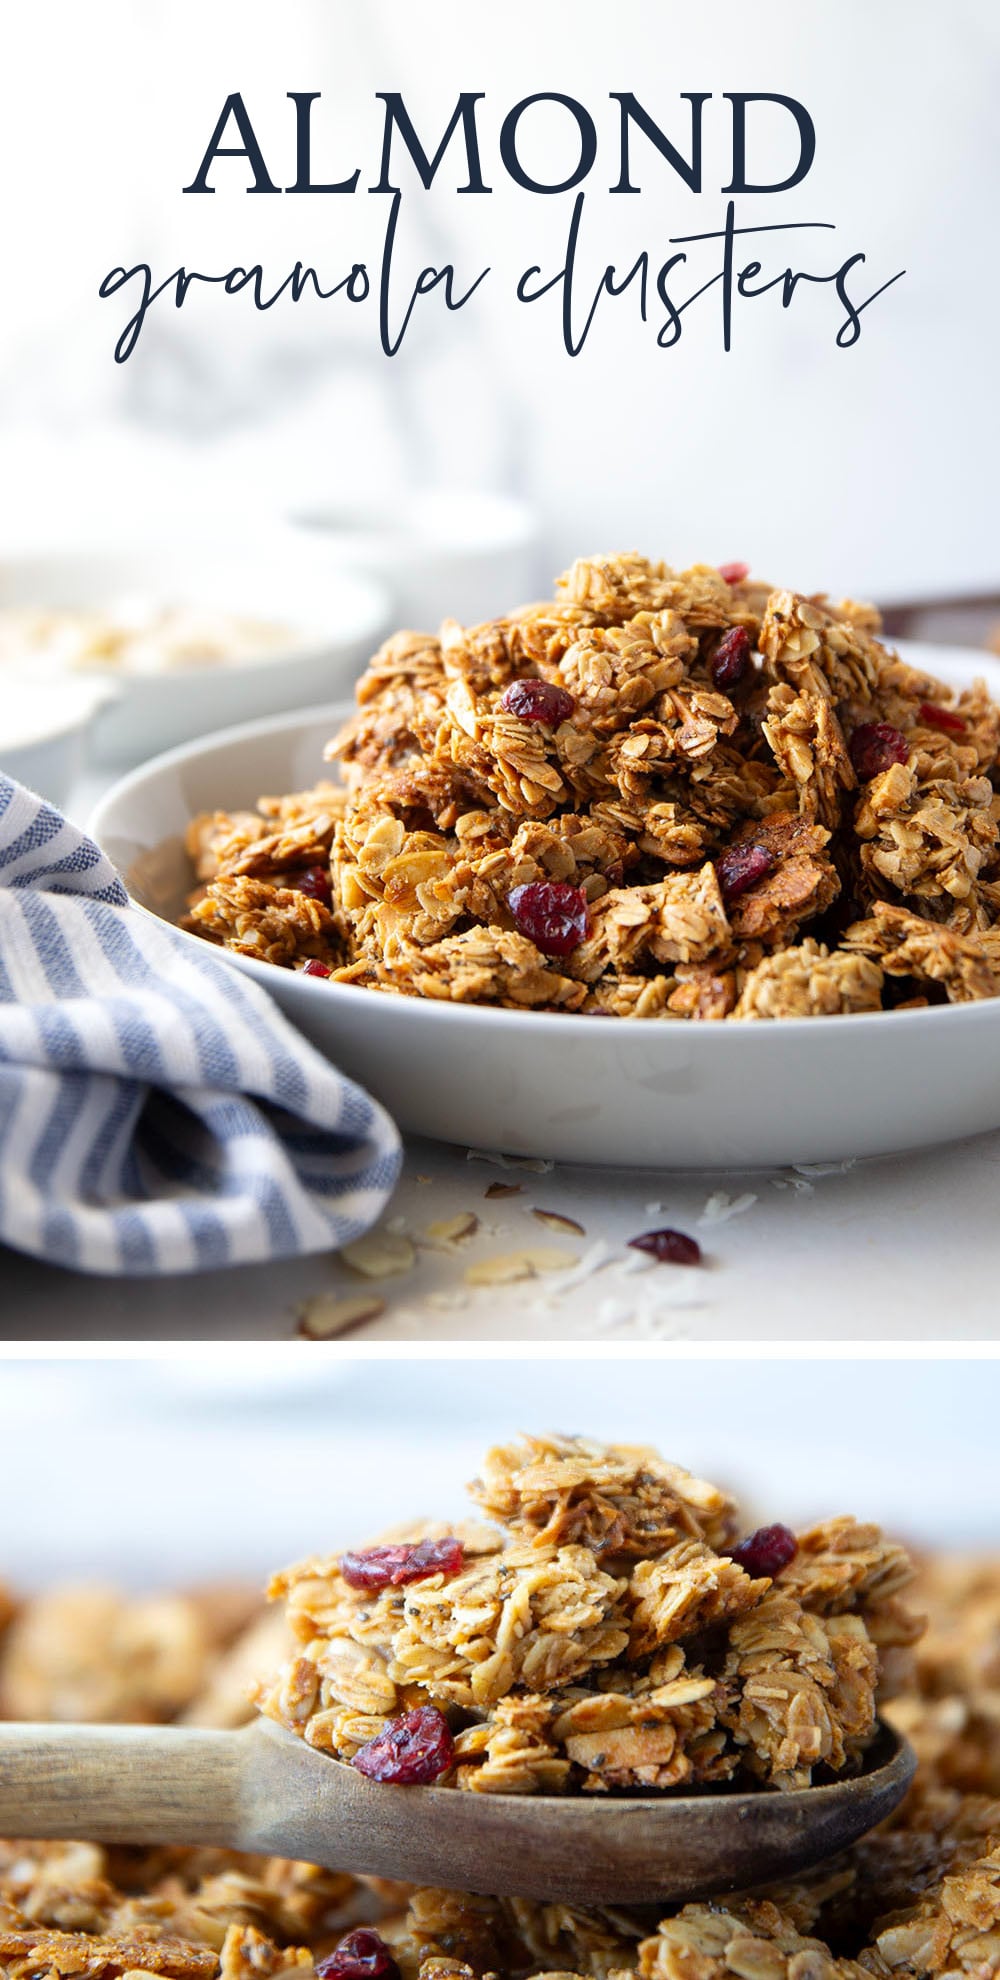
Featuring huge, crunchy clusters with lots of almond flavor, these almond granola clusters are easy to make and better than any packaged granola!
Secret’s out, large-cluster granola is SHOCKINGLY easy to make at home! And these little babies are about 10,000x better than any packaged granola out there.
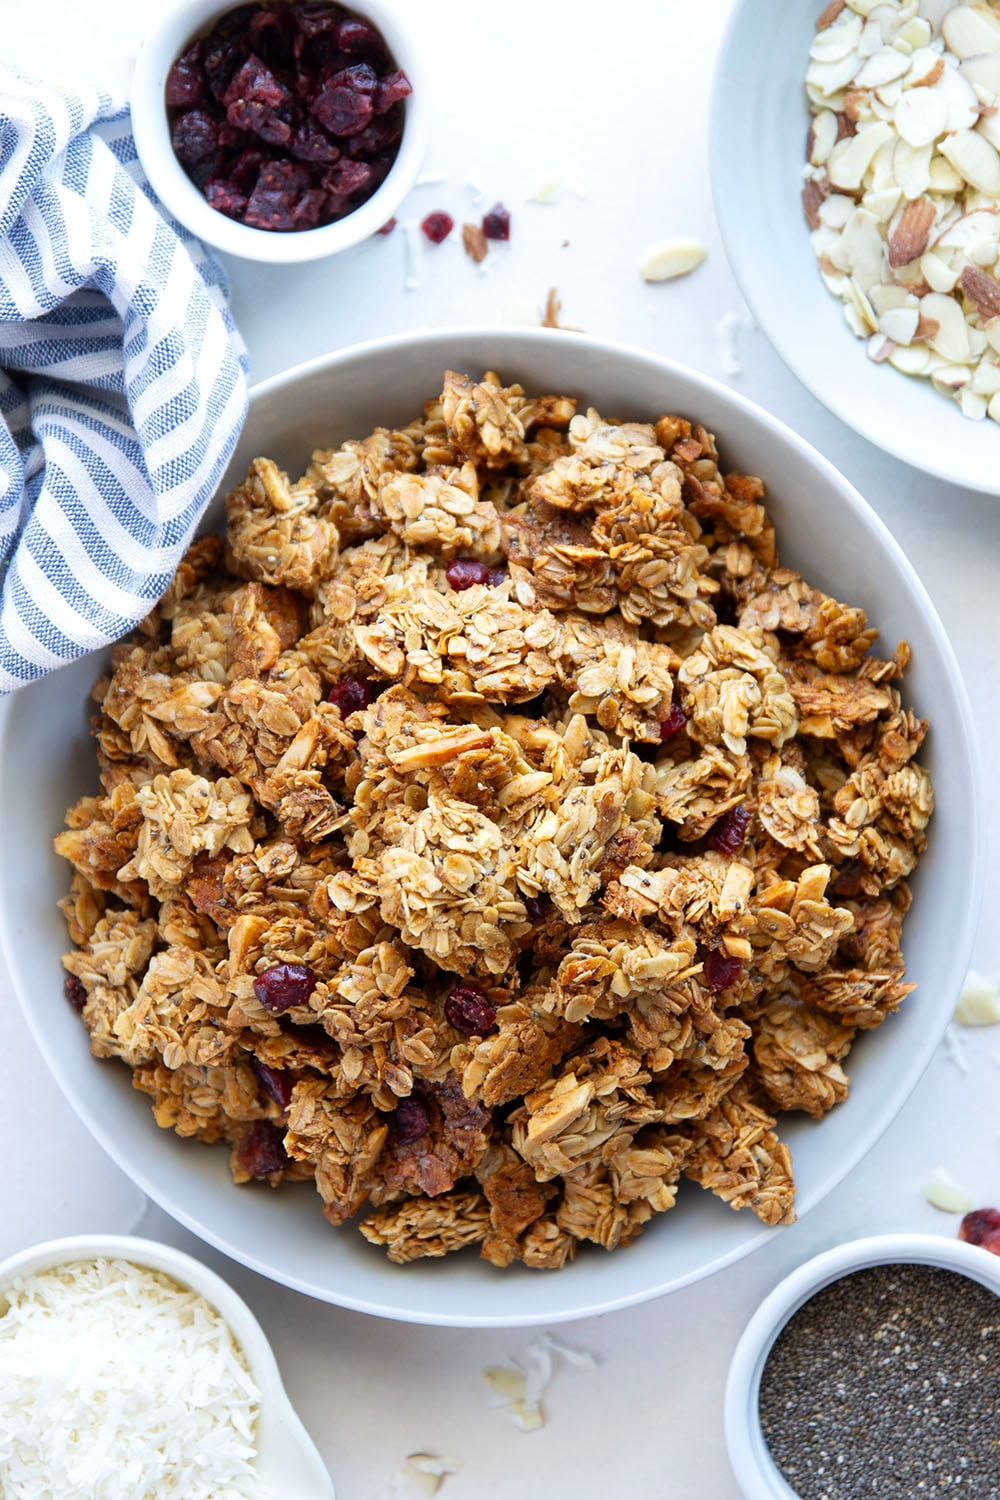
I’m talking light and crunchy texture, lots of nuts and coconut in every bite, a little hearty seed action, and a light maple flavor that pairs so well with plenty of vanilla + almond.
This granola is somehow even easier to make than your standard granola since we’re using basic pantry ingredients and there’s no babysitting necessary while it bakes aka no stirring required! The wins just keep coming and coming.
Like, it’s actually becoming a problem how good this granola is and how so little effort stands between me and a bowl of this breakfast gold.
Anyways, meet your new breakfast, snack, and anytime-in-between bestie!
This Granola Features…
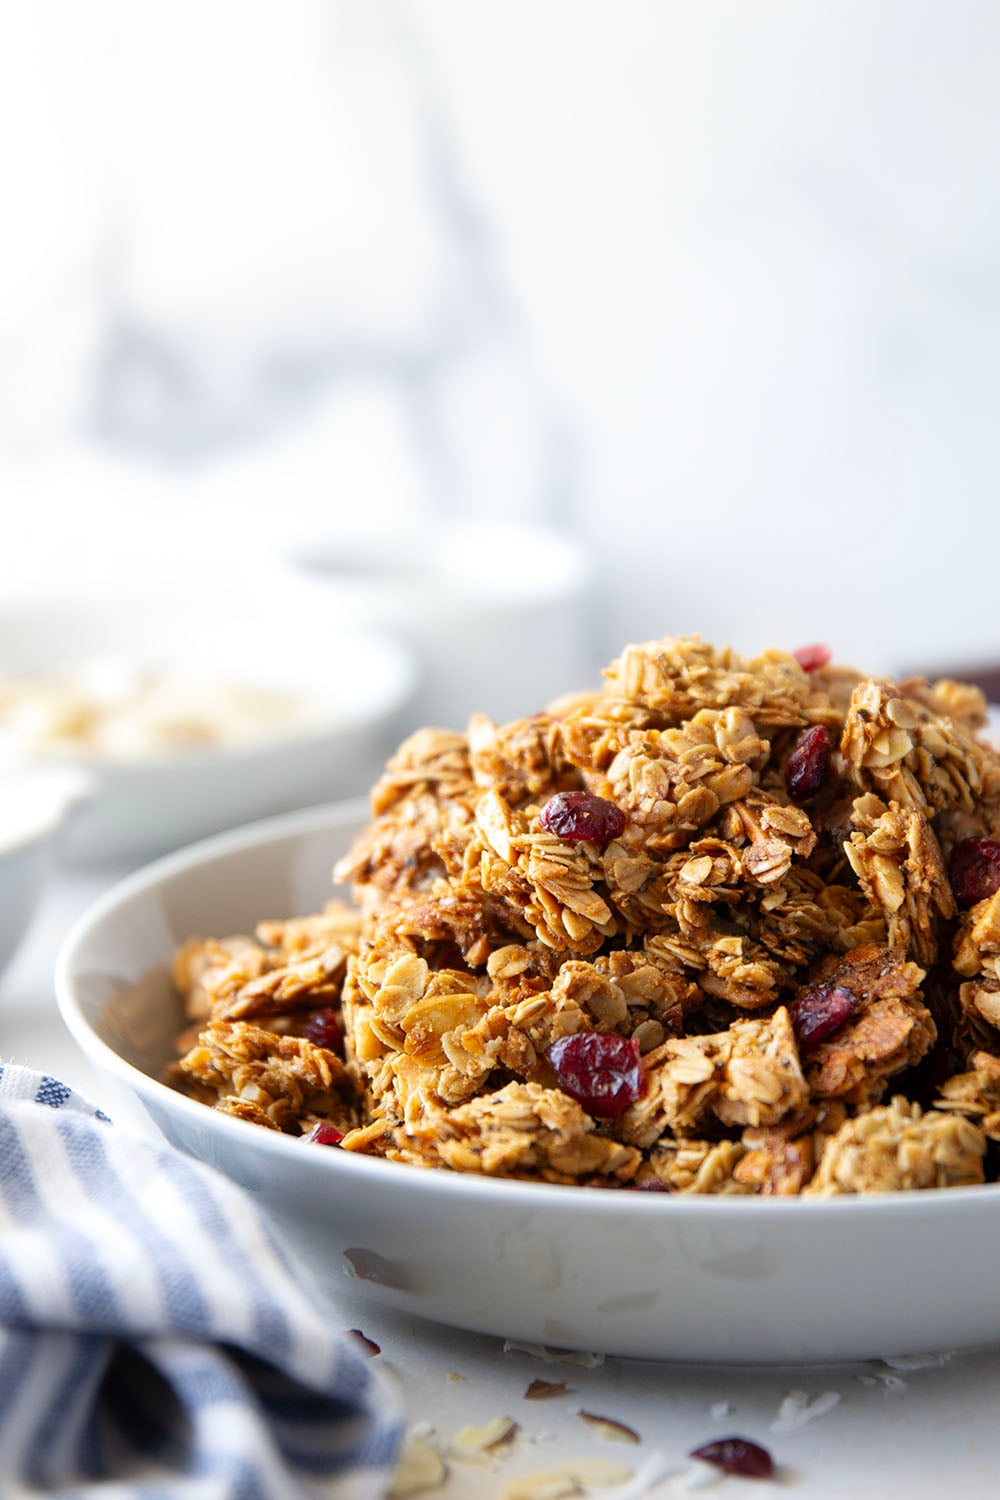
- Big and crunchy clusters
- Lots of almond flavor and shredded coconut
- An easy recipe that comes together in minutes in only one bowl
Making the Granola
(scroll down to the bottom of the post for the full recipe)
Ingredients You Will Need
- Coconut oil
- Maple syrup
- Egg white
- Vanilla extract
- Almond extract
- Oats
- Almonds
- Coconut
- Brown sugar
- Flaxseeds
- Chia seeds
- Cinnamon
- Kosher salt
- Dried fruit
Tips for Perfect Granola
- Use old-fashioned rolled oats – do not substitute quick-cooking oats for this recipe as they have a very different texture.
- Use coconut oil – melted coconut oil gives this granola an incredible light and crunchy texture.
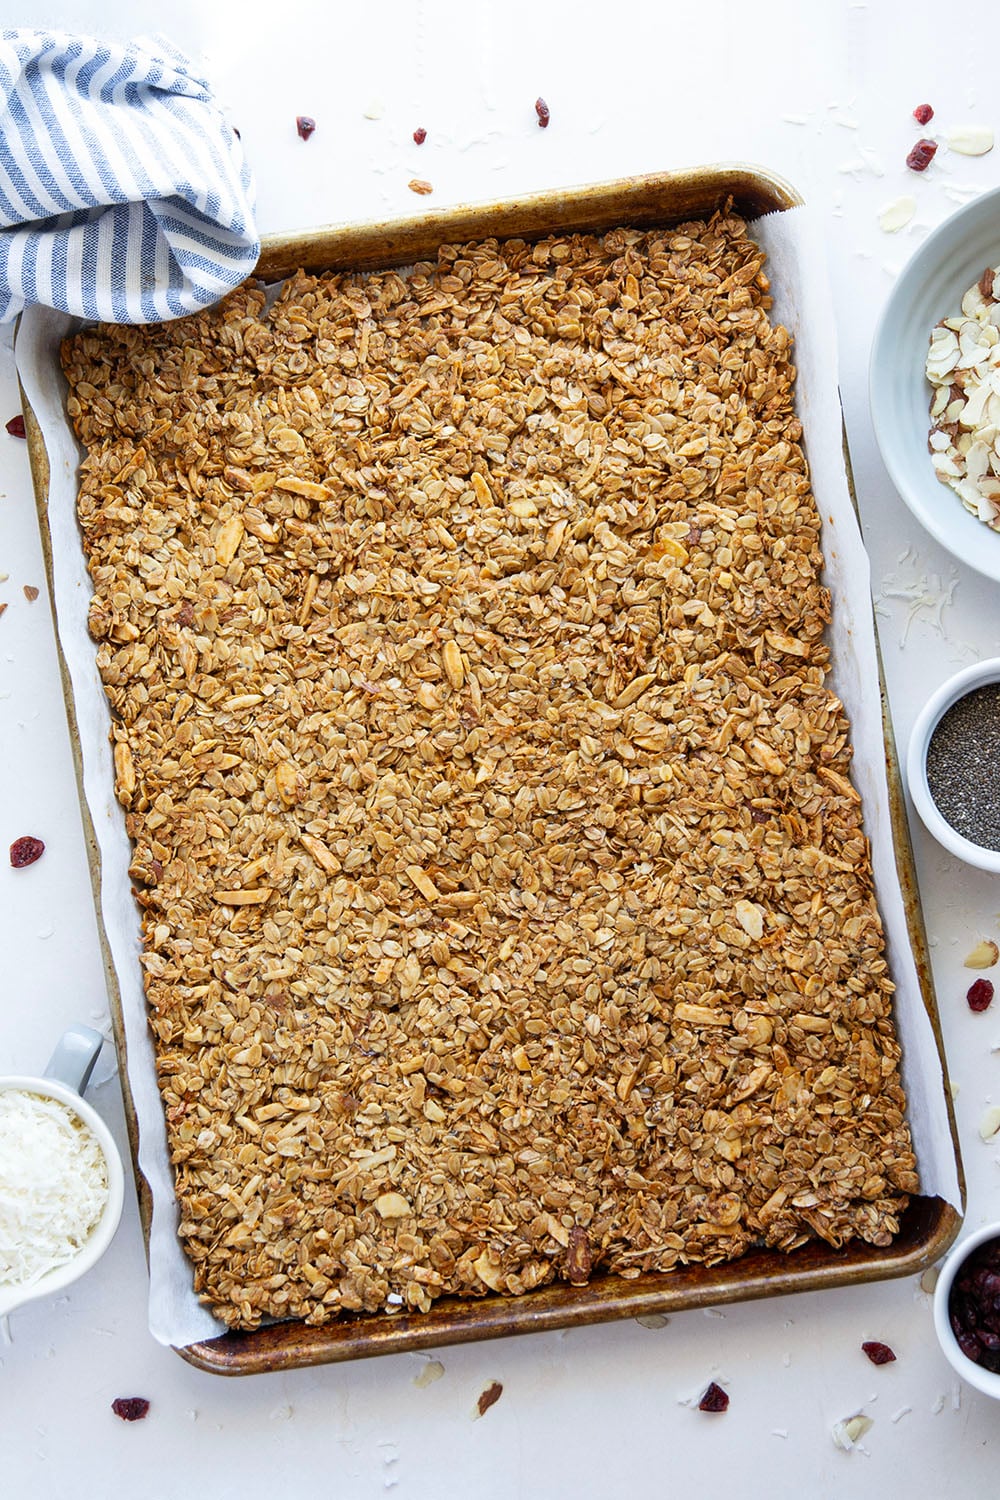
- Pack granola into pan – packing the granola into a firm layer will help it bake together thus making for large chunks that easily break apart once cooled.
- Bake granola at 300F – this low temperature will keep the granola from burning.
- Do not stir granola – do not stir the granola during baking or after until the granola is fully cooled. Once the granola is cooled, use your hands to break it into bite-sized clusters.
Recipe Variations
Try these ideas for a different twist on this granola.
- Use another nut – try peanuts, pecans, or walnuts in place of the almonds.
- Add chocolate – drizzle granola with melted semisweet or dark chocolate after baking. Allow to cool completely then break into chunks.
Storing and Serving Granola
This granola stores well in an airtight container at room temperature up to about 2 weeks. Make sure you let the granola fully cool to room temperature before storing.
For serving granola, enjoy a few handfuls with vanilla Greek yogurt and fresh fruit, as a cereal with milk, or mix it into dried fruit + extra nuts to make a trail mix.
This granola is hands down, the best breakfast or snack you can have on your rotation. Heck, this isn’t even on a rotation in my house anymore we just always have a container stocked.
Plucking one of these clusters off the sheet pan is all it’s gonna take to be completely and utterly hooked! For real, be warned.
Save this recipe using the ‘save to recipe box’ button below. If you make it, please let us know! Leave a comment + star rating below, or take a photo and tag it on Instagram with #wholeandheavenlyoven.
More granola favorites you’ve gotta check out!
Almond Granola Clusters
This recipe may included paid links. As an Amazon Associate, I earn a commission from qualifying purchases.
Ingredients
- 1/2 cup melted coconut oil
- 1/2 cup maple syrup
- 1 large egg white
- 1 teaspoon vanilla extract
- 1/2 teaspoon almond extract
- 3 cups old-fashioned rolled oats
- 1 cup slivered or sliced almonds
- 1 cup unsweetened shredded coconut
- 1/4 cup packed light brown sugar
- 2 tablespoons flaxseeds
- 1 tablespoon chia seeds
- 1 teaspoon ground cinnamon
- 1/2 teaspoon kosher salt
- Dried fruit of your choice for mixing in
Instructions
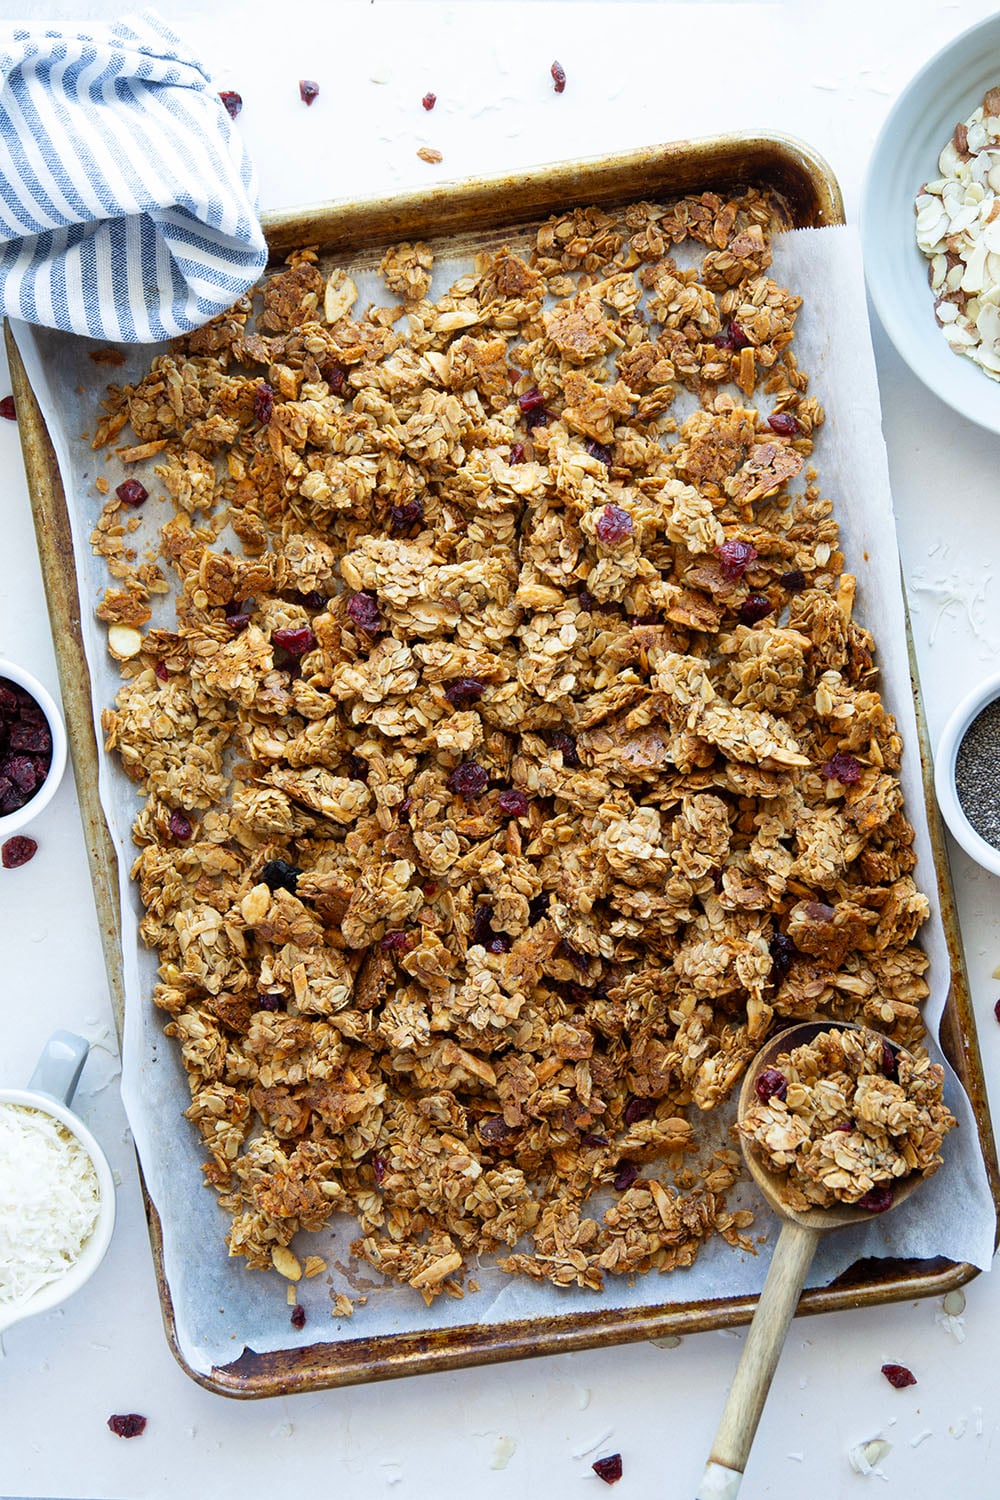
- Preheat oven to 300F. Line an 18×13-inch sheet pan with parchment paper and set aside.
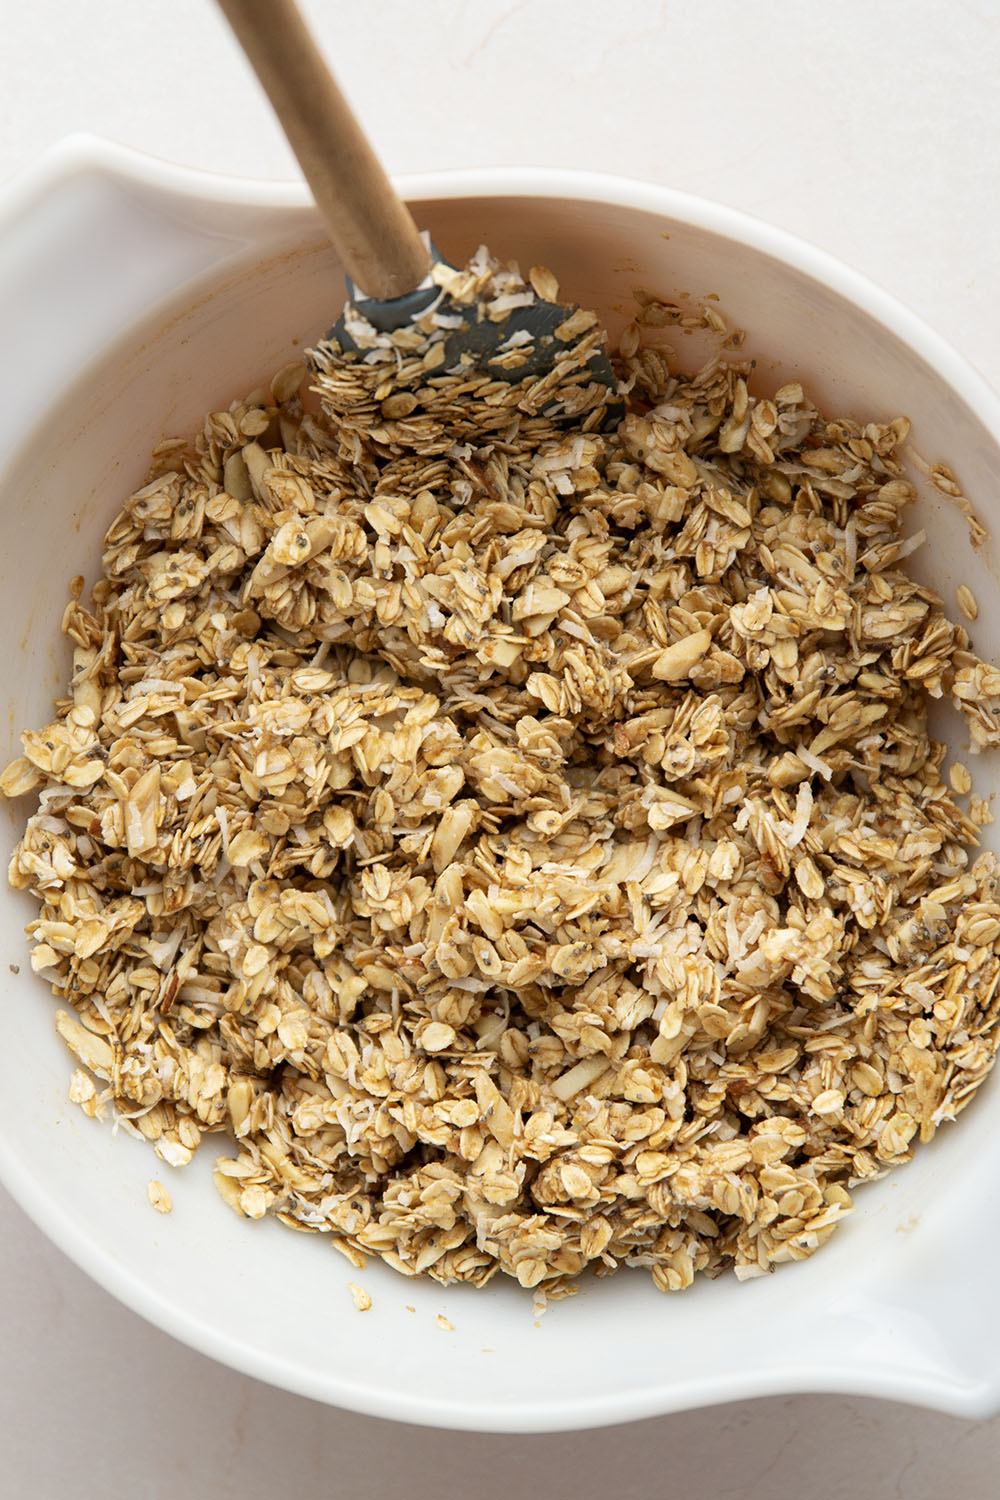
- In a large bowl, whisk melted coconut oil, maple syrup, egg white, and extracts until smooth. Add oats, almonds, coconut, brown sugar, flaxseeds, chia seeds, cinnamon, and salt and stir until evenly combined.
- Evenly spread granola mixture onto prepared baking sheet and pack it into a flat layer with a spatula. Bake granola at 300F 40-50 minutes until granola is golden-brown (do not stir granola while baking or afterwards).
- Remove from oven and allow granola cool completely on a wire cooling rack. Break granola into bite-sized clusters and transfer to an airtight container. Stir in dried fruit of your choice. Enjoy!
Notes
Nutrition
This recipe was updated with a few minor adjustments and new photos on 2/26/26.


Mariah @ Mariah's Pleasing Plates says
I am just like you, no milk needed! I just love them as a snack and I always eat them ALL! Pinned! These granola clusters look fantastic!
Sarah says
They’re totally just perfect on their own!—that good. 🙂 Thanks for the pin, Mariah!
Manali @ CookWithManali says
oh nom nom..I love clusters in granola! Totally making this soon! Pinned.
Sarah says
Let me know if you make this granola, girl! Thanks for the pin.
Jess @ Flying on Jess Fuel says
I like big clusters and I cannot lie…. lol! Seriously, though, the big clusters are the best part of granola!! This one looks so yummy!!!
Sarah says
Oh my gosh, you seriously just made my day, Jess! LOL.
maryem el farsaoui says
thank you for the giveaway !! it is amazing ^_^ I too love the granola but never tried it before !! I have just bought oatmeal like 2 days.. and in Morocco, Oatmeal isn’t as common… and your recipe comes in time thank you so much love
Sarah says
Perfect timing! Let me know how this granola turns out for you, Maryem!
Amber @ Dessert Now, Dinner Later! says
Yes please! Large crispy chunks of granola make me giddy!
Sarah says
Ha! Me too. 😀
Bri | Bites of Bri says
I made this today and both my husband and I couldn’t stay away from it. It was outstanding! We don’t like coconut, so I simply omitted it. I’m loving the large clusters!
Sarah says
I’m SO happy to hear that this granola was a smashing success, Bri! Enjoy! 🙂
Sadia says
Hey Sarah,
This looks DELICIOUS!! But I was wondering if there was a way to omit the brown sugar. Would it effect the recipe? Could I substitute with a healthier option?
Sarah says
Hi Sadia! A healthier alternative to the brown sugar would be to use coconut sugar. Or if you can’t find coconut sugar you could also use honey. (it would need to be mixed into the liquid ingredients) Hope this helps!
Tracy says
Sarah,
Does it make a difference if the coconut oil is REFINED or UNFINED?
Tracy
Sarah says
Nope! Either one should work. Let me know how your granola turns out!
Tracy says
Thank you for the quick response. The first couple times I made this it turned out perfect! The last couple times, the edges were crisp and very brown at 45 minutes, so I took out of oven. At that 45 minutes, the middle was more chewy then the first couple batches made. Since the first couple batches to the last couple, I have used a different maple syrup and maybe different coconut oil (refined vs. unrefined). When I used up the last of the coconut oil and tossed the empty jar, I didn’t look to see which I bought-refined or unrefined. Not knowing which I used the first couple times, I wondered if the jar I was using may have been different from what I used previously. I will go back to the expensive maple syrup vs. the cheaper brand from COSTCO next time. This is my FAVORITE granola recipe, so I will figure it out!!!!!
Thanks again.
Jackie says
I’m allergic to coconut. What could I sub for the oil and flakes?
Sarah says
For the oil, you could substitute any other kind of oil, such as vegetable. For the coconut, you can just increase the oats up to 4 cups. Good luck! 🙂
Lindsey says
Made this for the first time a week ago, and it’s been such a hit in our house that I’ve made two batches since! Such an easy recipe and sooo much better than store-bought granola. Thanks so much for sharing your amazing recipe!!
Sarah says
I’m so happy to hear that this granola was a hit in your family, Lindsey! Enjoy it! 🙂
Terry H says
This looks really good, but I was wondering if you could put the chocolate chips in before you bake it, or would they melt, or burn?
Sarah says
You would want to add the chocolate chips after the granola has baked, while it’s still slightly warm so it will melt them.
Terry H says
Thank you
Jess says
So sad – 45 minutes was WAY too long in the oven – burnt granola. Probably should have pulled it out at 30 minutes. 🙁
Maggie says
Hi! I want to make these for my 3yo son and I usualy use dates as sweetener in his food, I blend it to a paste consistency and add to a recipe. I know that sugar would make it all to stick together better but do you think that it would be ok to make this without? I don’t have a lot of experience in making granola so I would like to hear from you! Thanks!
Sarah says
You could easily just leave the sugar out and add 1-2 tablespoons of additional maple syrup to taste, Maggie! Let me know if you have any other questions!
Moms Wheelhouse says
I LOVE this recipe! I prefer large chunks of granola and it stays together great so it can be left in bark size pieces or crumbled on yogurt or eaten on -the-go. I use brown sugar (in place of coconut sugar) and skip the almond extra (not in my pantry) but it is delicious 🙂
Sarah says
Large chunks are the best part of granola! Glad to hear that this one is a hit!! 🙂
Bev says
So was so excited to make this I hurried thru the end and found out after it was in the oven that the dried fruit gets added AFTER it’s been baked. So I gently covered with foil and hope it’s going to be ok. We’ll know in 30 minutes. The taste going in was amazing though!
Danielle says
I make your recipe all the time and I love it. I shipping a big batch to my mother in law in Florida- is there any way to extend the expiration date past a week? Like if I vacuum seal or if she puts it in the fridge? By the time it gets down there she’s only gonna have like two days to eat it before it goes bad
Sarah says
Hi Danielle! I’m so glad to hear that this granola is a favorite! Although I wouldn’t recommend refrigerating this granola, you could definitely vacuum seal it and that would make it last longer.