

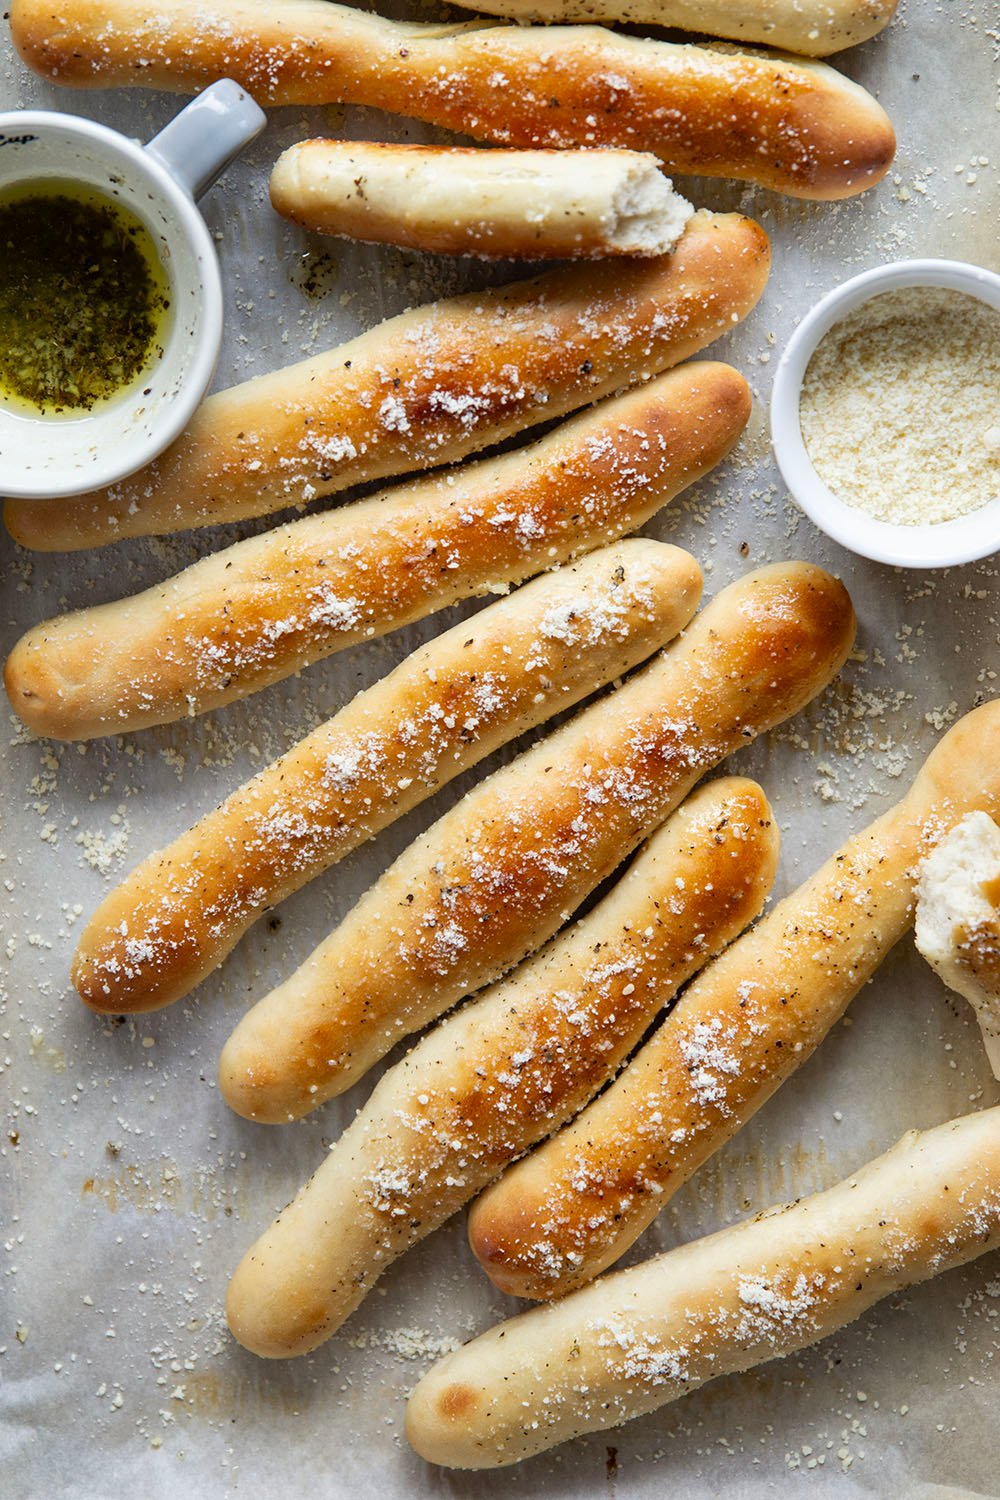
Learn how to make perfect homemade breadsticks with this easy recipe! Soft on the inside, crusty on the outside, and brushed in a garlic herb butter.
Oh baby, things are about to get downright dangerous in the bread department today. If you’ve ever accidentally made an entire meal out of breadsticks you’re in the right place.
Because throwing homemade into the mix? It changes the game entirely and you’re about to be downright addicted to these.
I blame the homemade garlic herb butter entirely for this…
Making breadsticks at home is a super chill baking project and definitely appropriate for beginner yeast-bread bakers! I include instructions for both a stand mixer and making the dough by hand and either way you’re going to nail these.
Either way you’re also about to eat your weight in breadsticks.
These Breadsticks feature…
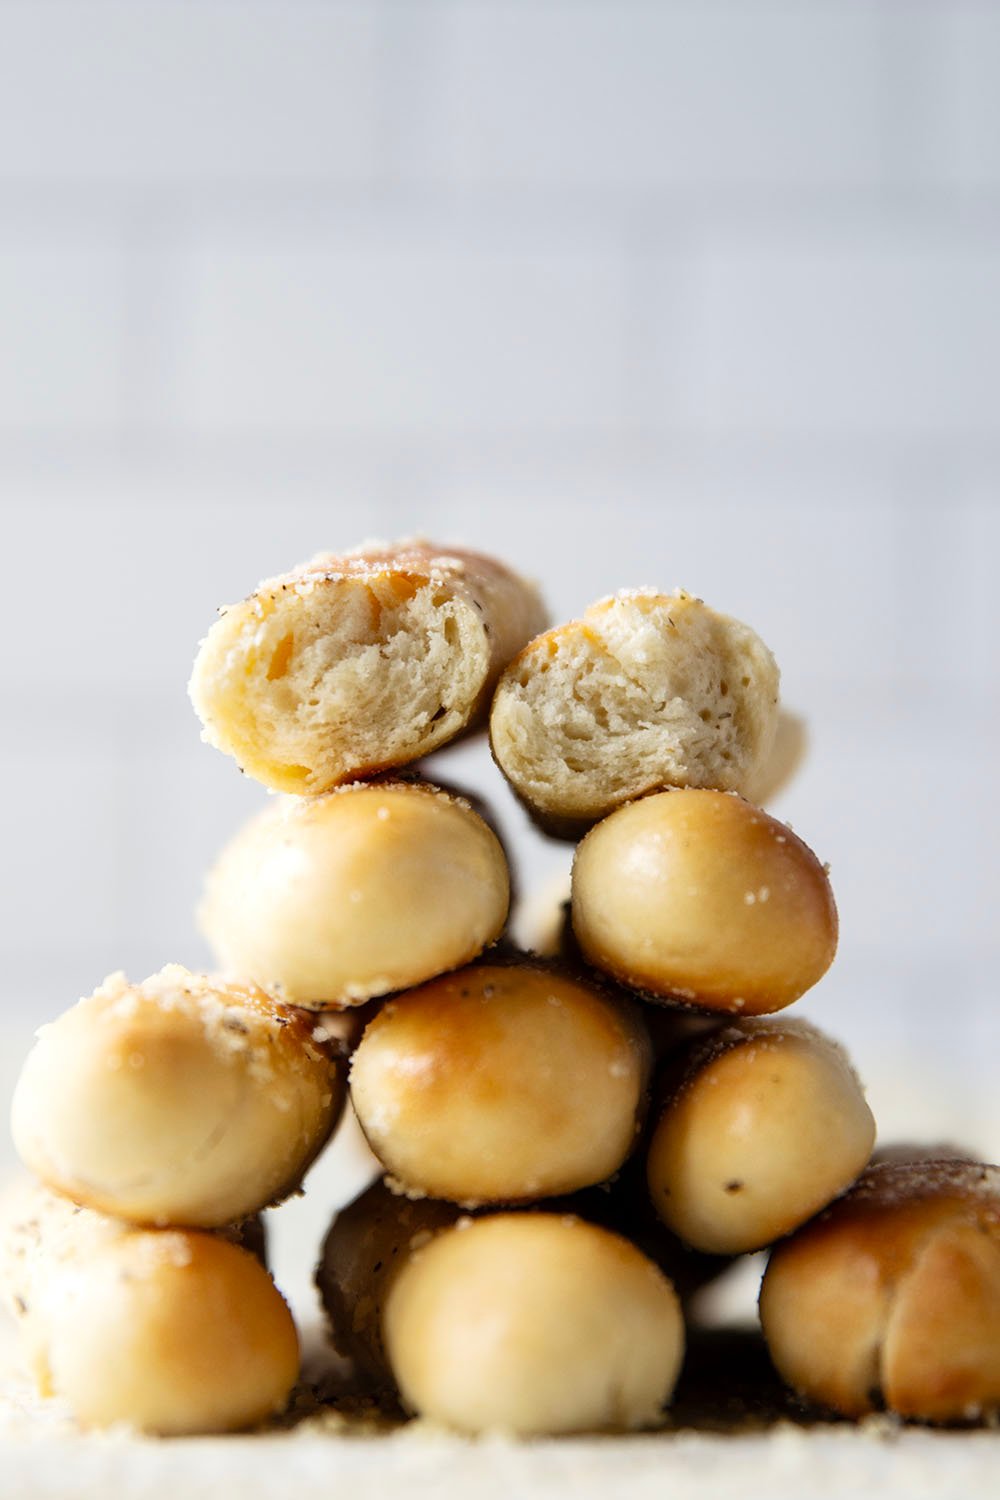
- A soft interior and crusty outside
- A garlicky herb butter brushed on top with lots of Parmesan
- An easy dough that comes together in either a stand mixer or by hand
Making the Breadsticks
(scroll down to the bottom of the post for the full recipe)
Ingredients You Will Need
- Water
- Active dry yeast
- Brown sugar
- Kosher salt
- Bread flour
- Unsalted butter
- Egg white
- Garlic
- Dried basil
- Parmesan cheese
Stand Mixer vs. Mixing Bowl
Both a stand mixer and a mixing bowl + wooden spoon will work for mixing this bread. Obviously, by hand requires a little more physical effort, but it is definitely doable!
If you go the stand mixer route, make sure you use the dough hook for mixing and let the machine knead the dough on medium speed 5-7 minutes until the dough is stretchy and elastic.
If you are making the dough by hand, use a large bowl and a wooden spoon for mixing the dough. For kneading, turn the dough onto a floured surface and knead about 10 minutes or whenever the dough is stretchy and elastic.
Tips for Perfect Breadsticks
- Spoon and level flour – I use the spoon-and-level technique for measuring flour as this will prevent over-measuring your flour. Use a spoon to scoop flour into the measuring cup, then level with the back of a knife.
- Use water at 110F degrees – I recommend temping the water to ensure it’s not over 110F. If you use water that is too warm, it will kill the yeast and your dough will not rise.
- Knead dough properly – this step is where we develop the gluten in our dough which is crucial for forming the structure of the rolls. You can knead by hand or use your stand mixer with the dough hook attachment.
- Allow dough to rise until doubled – turn the dough into a clean greased bowl, cover with plastic wrap, and allow to rise until doubled in size, about 1 to 1-1/2 hours.
- Let breadsticks rise a second time before baking – depending on the temperature of your kitchen, this should take 20-30 minutes.
- Brush breadsticks with egg wash – this will add a sheen to the breadsticks and promote browning while they bake.
- Bake breadsticks at high temperature – a high temperature of 400F will give the breadsticks a perfectly golden exterior.
Recipe Variations
Try these ideas for a different twist on these breadsticks.
- Try another cheese for topping – replace the Parmesan with grated asiago.
- Add fresh herbs to dough – fold 1-2 tablespoons minced rosemary or oregano in the dough.
- Skip the garlic butter – for a more rustic bread you can absolutely skip the garlic butter topping.
Storing and Freezing Breadsticks
These breadsticks store well at room temperature in an airtight container up to 4 days. For best results, I recommend reheating breadsticks in a 400F oven for 5-8 minutes for serving.
To freeze breadsticks, allow to cool completely, do not top with garlic butter/Parmesan, store in a sealable bag, and freeze up to 2 months. Thaw breadsticks at room temperature, reheat, and brush with garlic butter and Parmesan before serving.

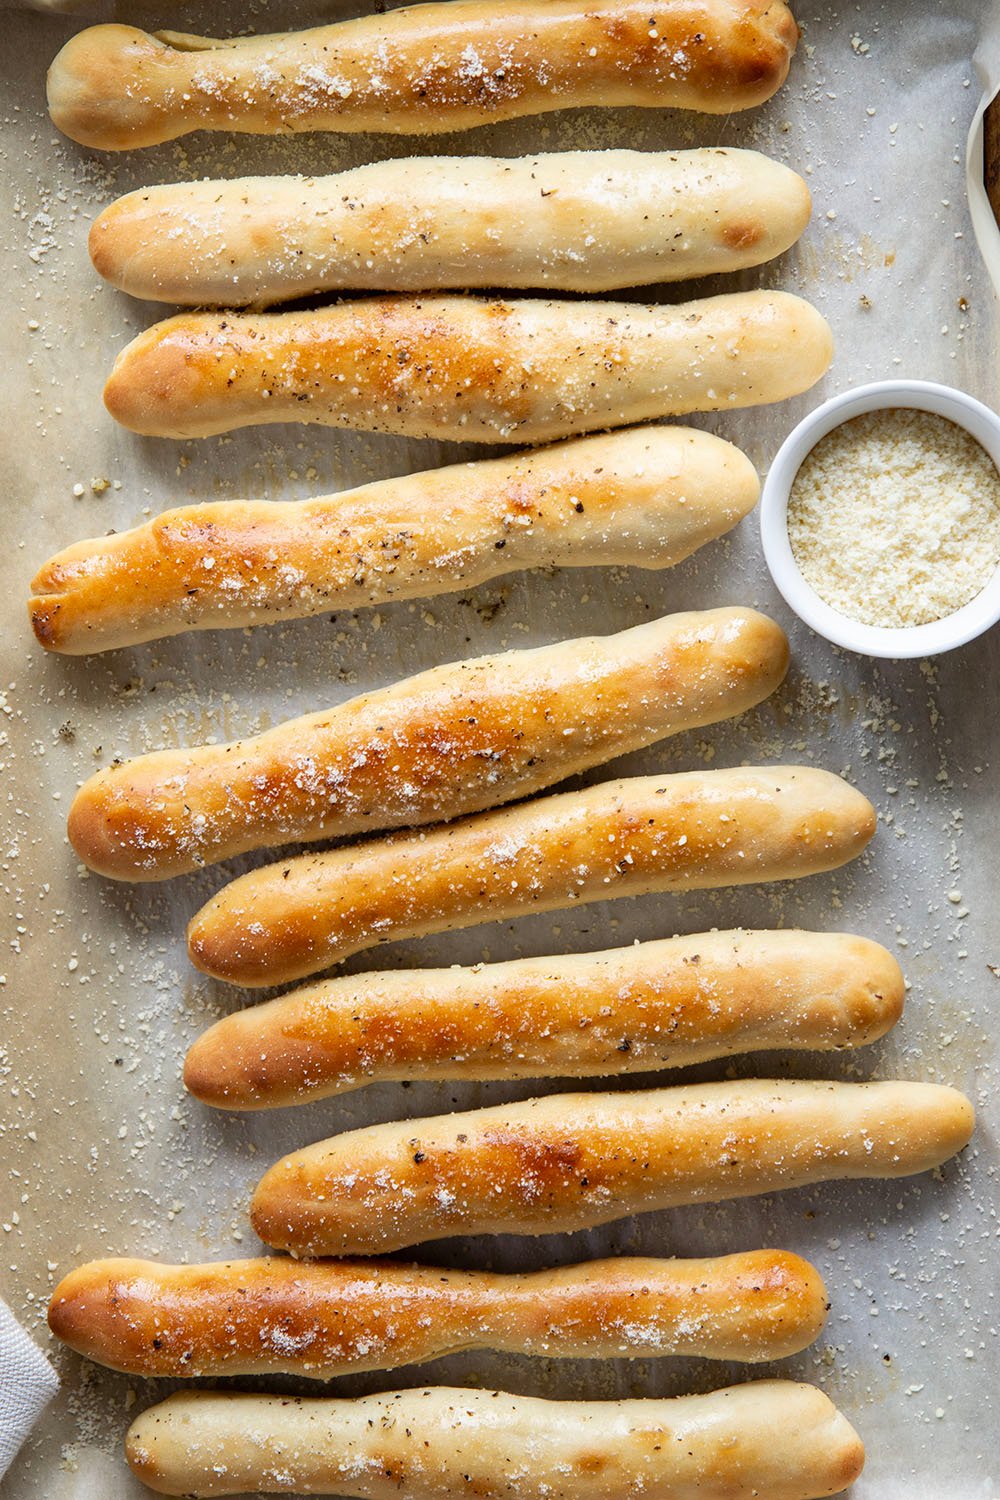
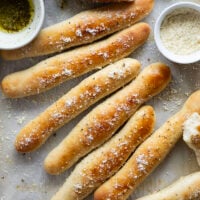
These breadsticks though, y’all. So plump, golden and perfectly soft and chewy on the inside, while maintaining that killer crust on the outside and coated in so.much. garlic butter.
The PERFECT accompaniment to an Italian dinner or literally any occasion that calls for bread. Which is every occasion, of course.
Save this recipe using the ‘save to recipe box’ button below. If you make it, please let us know! Leave a comment + star rating below, or take a photo and tag it on with #wholeandheavenlyoven.

More yeast breads to bake next!
Homemade Breadsticks
This recipe may included paid links. As an Amazon Associate, I earn a commission from qualifying purchases.
Ingredients
Breadsticks
- 1 cup warm water (110F)
- 1-1/2 teaspoons active dry yeast
- 2 tablespoons light brown sugar
- 2 teaspoons kosher salt
- 2 to 2-1/2 cups bread flour (spooned and leveled)
- 1 tablespoon unsalted butter, softened
- 1 large egg white, mixed with 1 tablespoon water
Garlic Herb Butter
- 2 tablespoons unsalted butter
- 1 small clove garlic, crushed
- 1/2 teaspoon dried basil
- 1/4 teaspoon kosher salt
- 2 tablespoons grated Parmesan cheese
Instructions
Breadsticks
- Place warm water in the bowl of a stand mixer fitted with a dough hook OR a large bowl. Dissolve yeast in water and let stand 5 minutes until foamy.
- Mix brown sugar and salt into yeast mixture until smooth. Add 2 cups flour to bowl and mix on low speed OR with a wooden spoon if making dough by hand until dough pulls away from sides of bowl, about 2 minutes of mixing (if dough seems a bit wet, add additional flour by the tablespoon until dough pulls away from sides of bowl)
- Add softened butter while mixer is running or fold in by hand with a wooden spoon until butter is combined in the dough.
- If making dough in stand mixer, knead dough in mixer on low speed 5-7 minutes until dough is stretchy and elastic. If making dough by hand, turn dough onto a lightly floured surface and knead by hand until dough is stretchy and elastic, about 10 minutes of kneading.
- Place dough in a greased bowl, turning once to grease top. Cover bowl with plastic wrap and let rise in a warm place at room temperature 1 to 1-1/2 hours until dough is doubled in size.
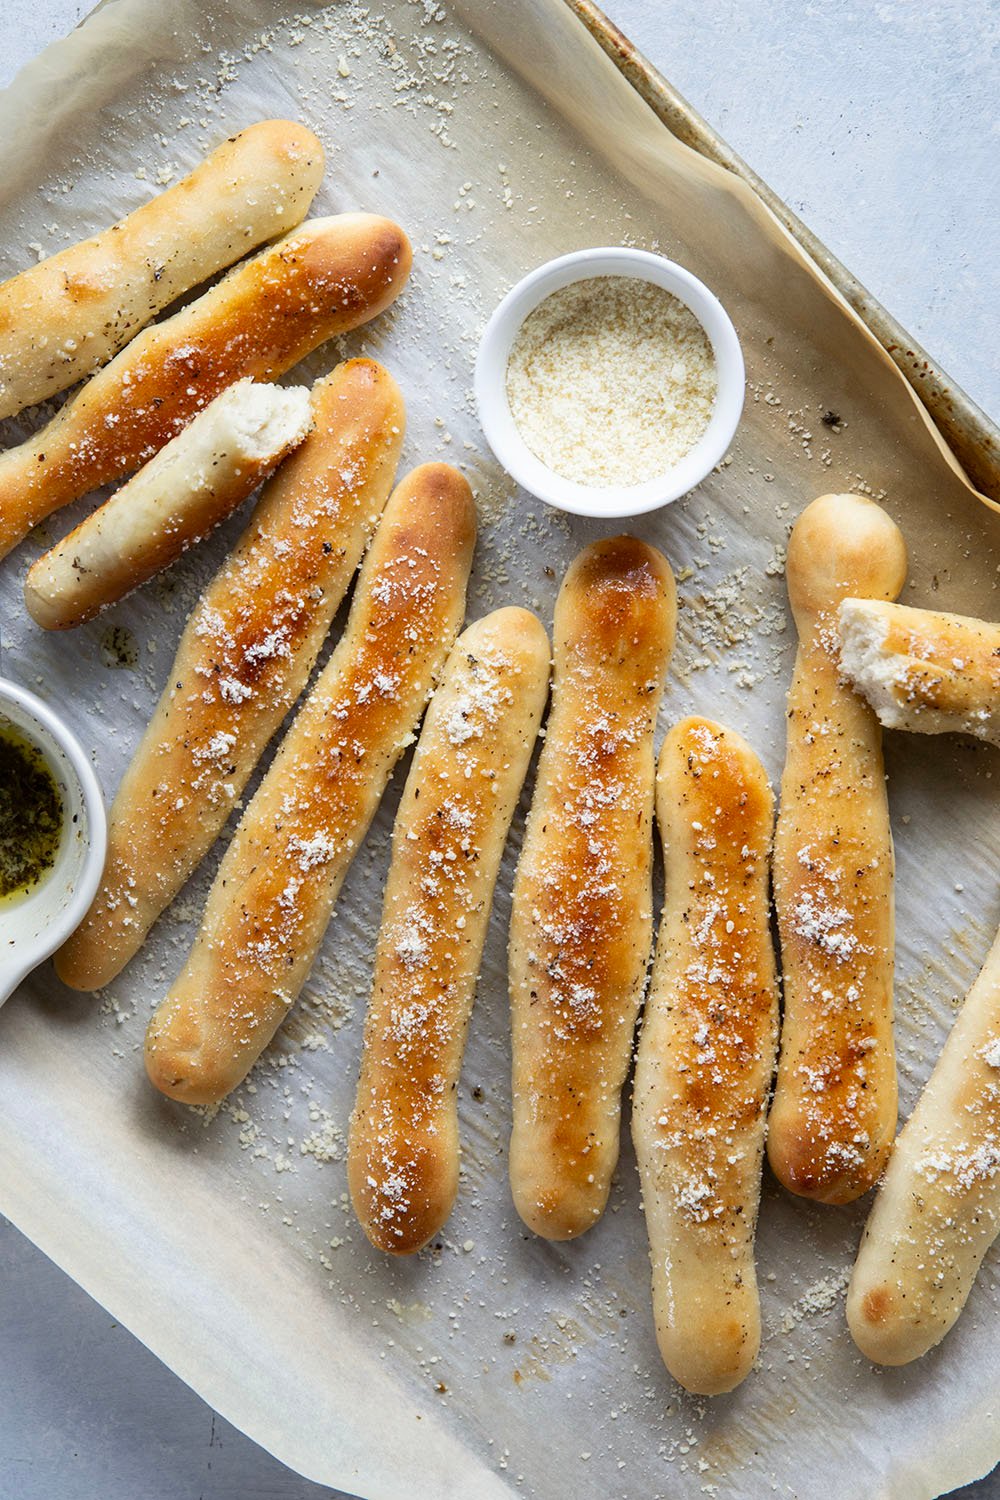
- Line 2 large sheet pans with parchment paper. Punch risen dough down and divide into 10 equal pieces. Roll each portion into a 8-in rope and place 2 inches apart on prepared sheet pans. Cover breadsticks with a kitchen towel and let rise an additional 20-30 minutes until breadsticks are puffy.
- Preheat oven to 400F. Brush breadsticks with egg white wash and bake at 400F 10-12 minutes until golden brown. Cool on a wire cooling rack.
Garlic Herb Butter
- Melt butter in a small pan over medium heat. Add garlic, basil, and salt and cook 1-2 minutes until garlic is fragrant.
- Remove butter from heat and brush over warm breadsticks. Sprinkle Parmesan cheese over top. Serve breadsticks warm and enjoy!
Notes
Nutrition
This post was updated with new recipe adjustments and photos on 7/10/25.


Danielle says
I can make a meal out of breadsticks too, they’re the best part when you’re eating at an Italian restaurant. These look absolutely delicious! I’m pinning these for the next time I make some pasta or something. These pictures are gorgeous too!
Sarah says
Totally the best part about eating Italian food! Thanks for the pin and for the photography compliment Danielle! 🙂
How to Philosophize with Cake says
That looks delish! Love how they’re made with white whole wheat flour, sounds like they would be very tasty. 🙂
Sarah says
The white whole wheat flour really makes these breadsticks everything they are. 🙂
Gayle @ Pumpkin 'N Spice says
These look like the best home-made breadsticks, EVER! I think I need one for breakfast! 🙂 I love that you used white whole wheat, flour too! Pinned!
Sarah says
I like the sound of eating one of these breadsticks for breakfast! Thanks for the pin Gayle!
Natalie @ Tastes Lovely says
When I was a poor college student at SF state, I had a 2 hour break in the middle of my day between classes. I would often wander across the street to the Olive Garden for their endless salad and breadstick lunch that was only like $6. It was delicious, and a great chance to get some studying done. I just love breadsticks! Especially dipped in soups or pasta.
Sarah says
Oh my gosh now that sounds like an EPIC lunch. 😀
Kaylin @ Enticing Healthy Eating says
Hey there, Sarah! I just discovered your blog and after reading your About Me page, I definitely know I can relate to you and your healthy recipes. I do the same thing myself on my own blog, Enticing Healthy Eating–healthify recipes and also focus on the nutritional benefits of the ingredients I use. I’m glad I found another inspiring healthy recipe and living blog to follow! I also pinned this breadstick recipe. It makes me crave the Olive Garden breadsticks but these sound AMAZING and are far healthier. Thank you for sharing!
Sarah says
Lovely to meet you, Kaylin! It sounds like we have a lot in common. Thanks for stopping by and for the pin on my breadsticks! 😉
Jess @ Flying on Jess Fuel says
I love that you made these whole wheat! They look so delicious. I do love OG’s salad & breadsticks but I can’t stand how much salt they use in everything… home cooked meals are definitely MUCH better!!
Sarah says
Totally agree, Jess! Home-cooked meals all the way. 😉
marcie says
I know exactly what you mean — eating too many breadsticks at dinner and having no room left for the main course! I’ve totally done that. 🙂 These look amazing, and since I have a weakness for homemade bread, I’d be in trouble with these. I love the whole wheat white flour — pinning!
Sarah says
Haha! Glad to know I’m not alone in overdoing it in the breadstick department. 😉 Thanks for the pin Marcie!
Kelly @ The Pretty Bee: Cooking + Creating says
These look so good! I LOVE breadsticks. I love that you used whole wheat flour, too!
Sarah says
Thanks, Kelly!
Jessica @ Jessiker Bakes says
Can you say delicious ?! I am a sucker for Olive Garden breadsticks, and the word wheat definitely doesn’t scare me; it’s amazing how whole wheat can transform some creations! Love this recipe Sarah!
Sarah says
Never underestimate the power of whole wheat flour I always say! LOL. Thank you, Jessica!
Ashley says
Oh man do I love homemade bread. These breadsticks looks awesome awesome awesome! haha I take my bread very seriously as well : )
Sarah says
Haha! Thanks so much, Ashley! 😀
Cindy @ Pick Fresh Foods says
Sarah, these breadsticks look yummy! Bread is one thing we can eat a lot of and homemade breads are the best! I once worked at OG and loved to have their breadsticks on my break. Kinda dangerous for a carb lover 😀
Sarah says
Oh, these breadsticks could definitely qualify as “dangerous.” So cool that you used to work at OG and got free breadsticks Cindy! 😉
Joanne says
I haven’t had olive garden breadsticks in YEARS, but these look way better. Love that they’re whole wheat!
Sarah says
Thank you, Joanne! You definitely need to try these breadsticks. You’ll love ’em. 🙂
Sherrie lopez says
Made this with whole wheat flour ( not the white). My question is how long typically do I need to knead? I’m a VERY LATE BLOOMER when it comes to real baking, I’m 58. I’m a huge fan of British Bake-off and know that I shouldn’t over work it. On its first rise now.
Thanks ?
Sherrie
Sarah says
Hi Sherrie! It typically takes me 6-10 minutes of solid kneading the bread by hand but you really need to go by how the bread feels. You’ll know the gluten is starting to be developed and the bread is ready to rise when you can stretch the dough in your hands without tearing and it is smooth and elastic. This time may vary depending on the bread recipe you’re making, but the feel of the dough should be the same. Good luck!!
Timi Hen says
The most delicious BREADSTICKS I’ve tasted so far! Just a perfect recipe!
I’m glad I came across it and made it.
We enjoyed every bite. I will definitely make more
Thank you very much
Sarah says
You’re very welcome! Thanks so much for the feedback. 🙂