

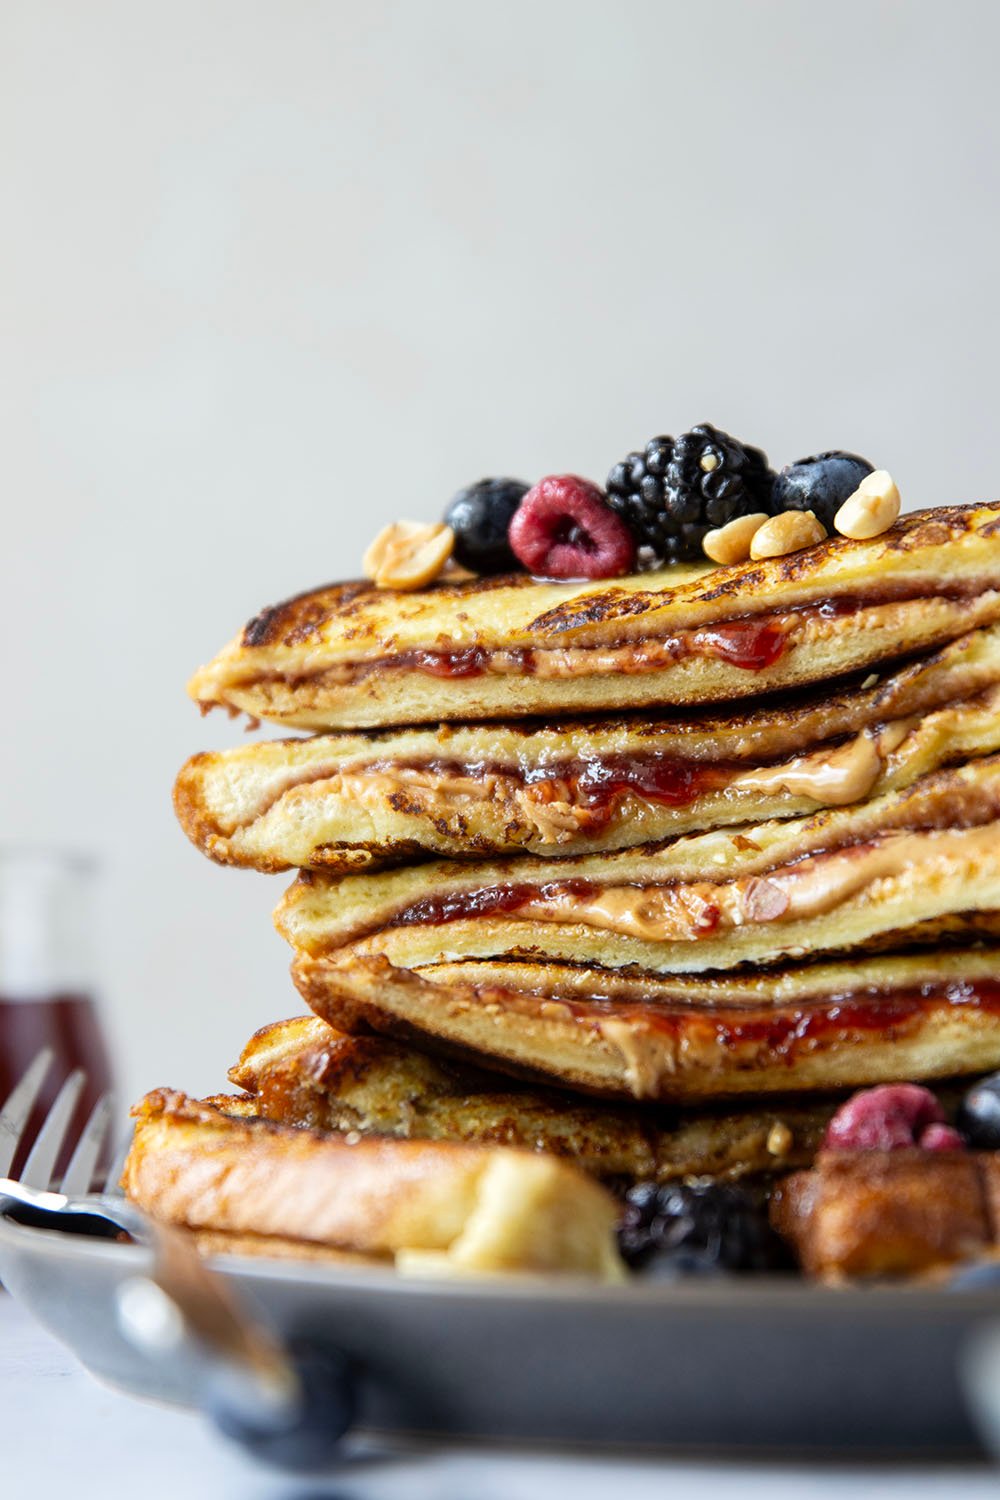
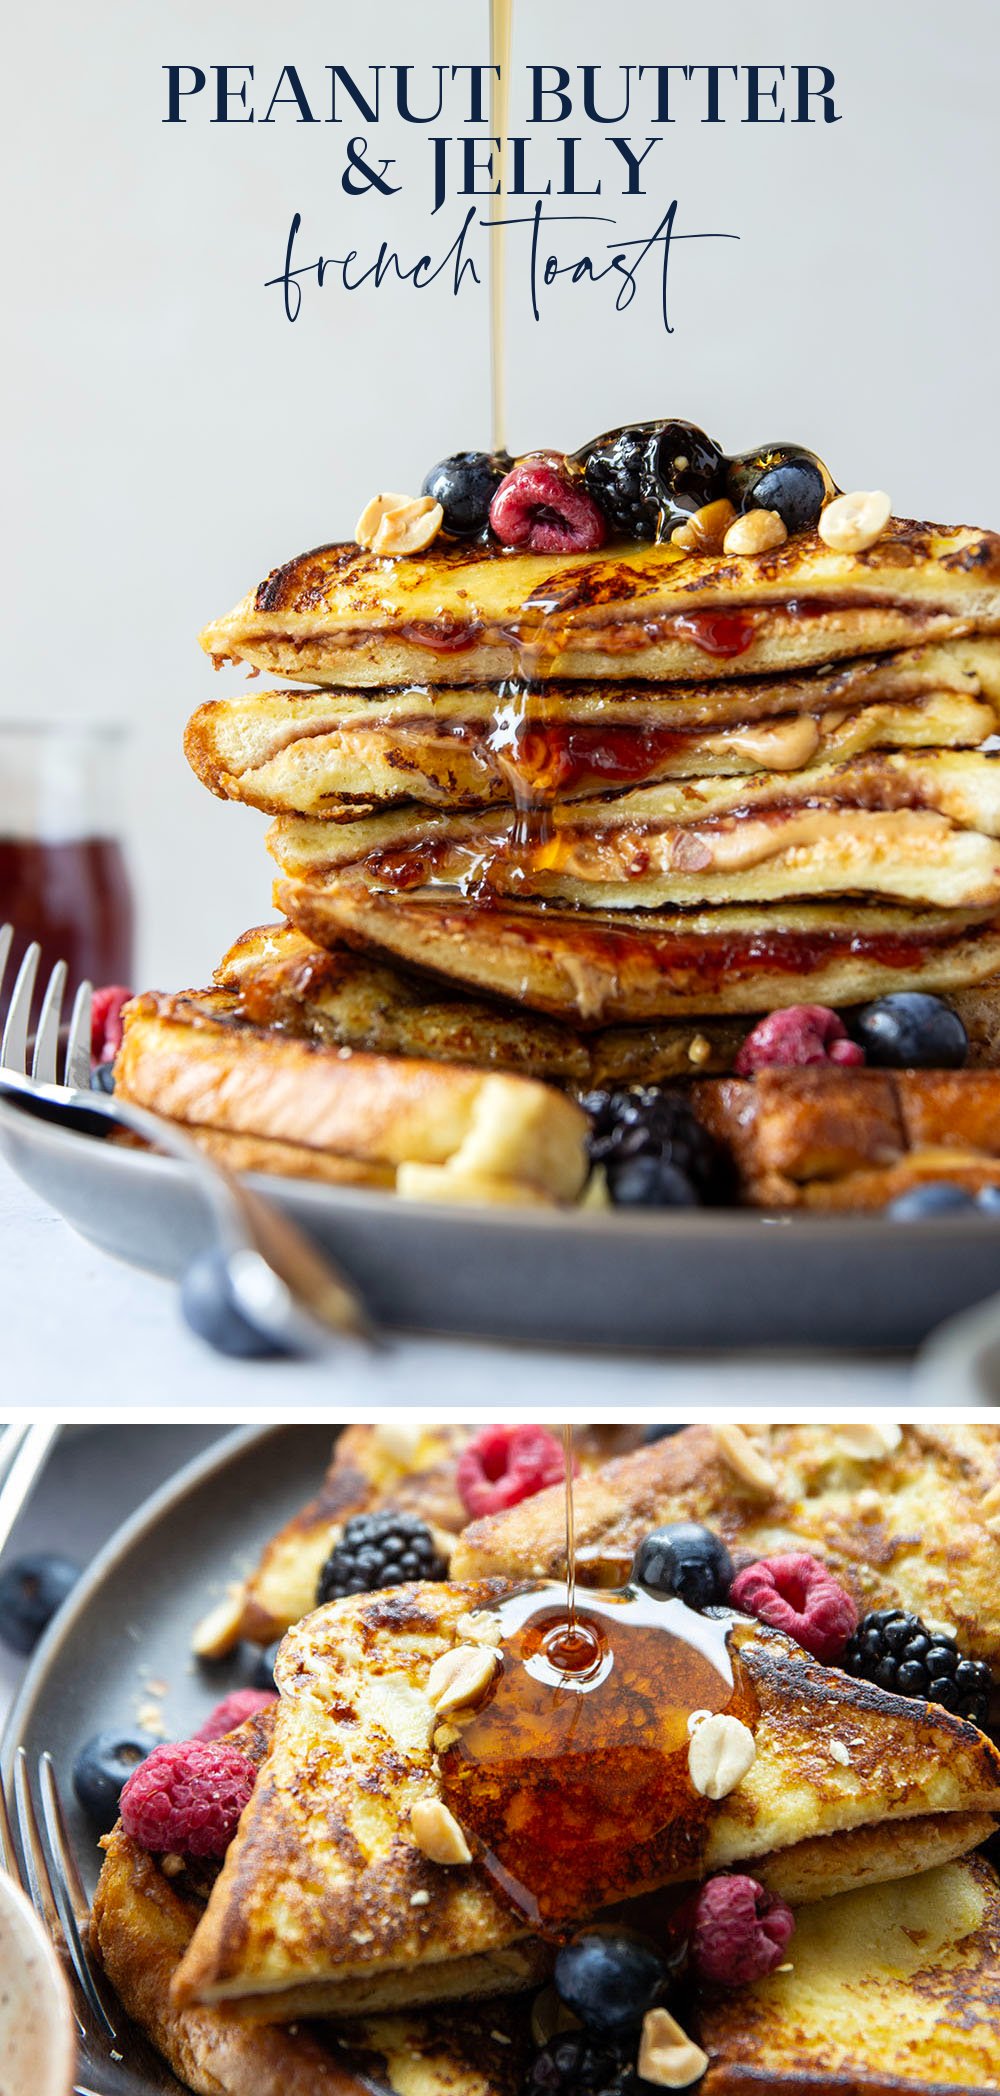
Stuffed with creamy peanut butter and sweet fruit jam, this peanut butter and jelly French toast is the best breakfast twist on a classic!
Breakfast and lunch are coming together in the most magical of ways today! French toast meets PBJ and I’m convinced there has never been a dreamier duo.
French toast has always been a weekend breakfast in my mind but this masterpiece is totally any-morning approved! It comes together so fast it’s almost unreal.
Kids and adults alike are going to proclaim this their favorite, I can promise you that.
The real winning part about this French toast is that it’s easy to make it your own! You can use your preferred creaminess or chunkiness of peanut butter, your favorite jam, and top it with any fruit you have on hand.
Any way you slice it, it’s gonna be a winner.
This French Toast features…
- A creamy peanut butter and jam filling
- Sweet brioche bread slices dipped in a vanilla egg custard
- Ready in minutes with only 8 ingredients

Making the French Toast
(scroll down to the bottom of the post for the full recipe)
Ingredients You Will Need
- Bread
- Peanut butter
- Jam
- Eggs
- Honey
- 2% or skim milk
- Vanilla extract
- Unsalted butter
Choosing Your Bread
I recommend going with a loaf of brioche or another sweet bread for this recipe. It’s sturdy, yet light and buttery and goes so well with the peanut butter and jelly.
If you don’t have brioche on hand, this recipe will also work great with sliced challah, sourdough, or French bread.

Tips for Perfect French Toast
- Whisk eggs in custard well – you don’t want any egg chunks in the custard that coats the French toast! Whisk the eggs until smooth before adding the milk.
- Cook French toast on griddle or stovetop – if you have a flat-top griddle, this works great. Otherwise a big skillet on the stove will also work perfectly fine.
- Serve French toast immediately – French toast is one of those things you definitely want to enjoy straight off the griddle for the best experience.
Recipe Variations
Try these ideas for a different twist on this French toast.
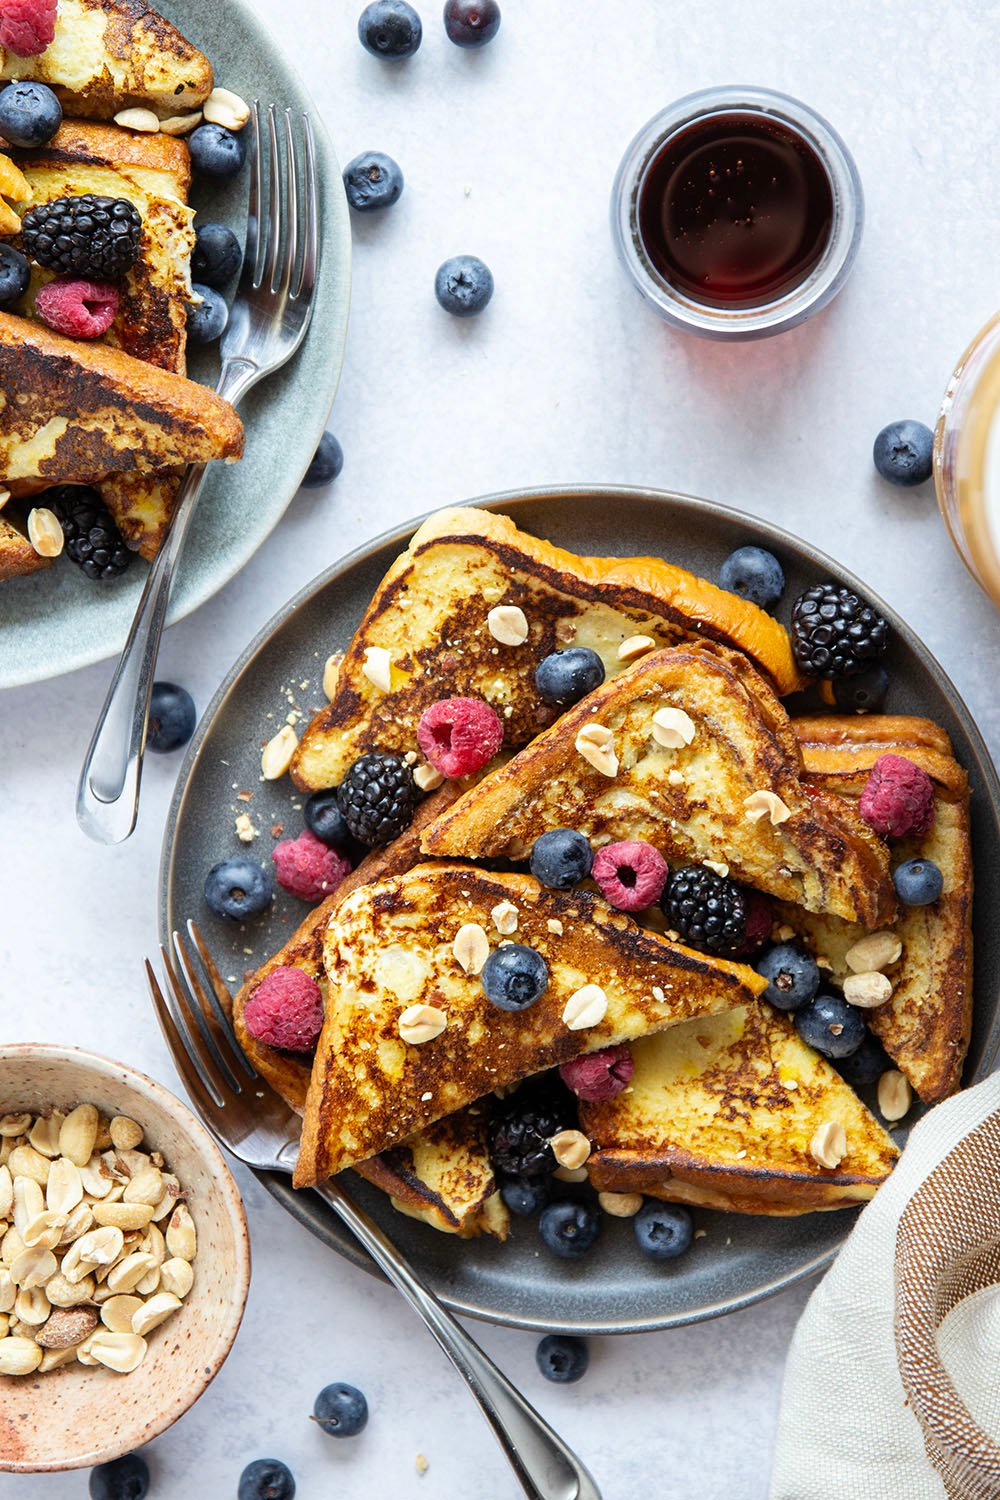
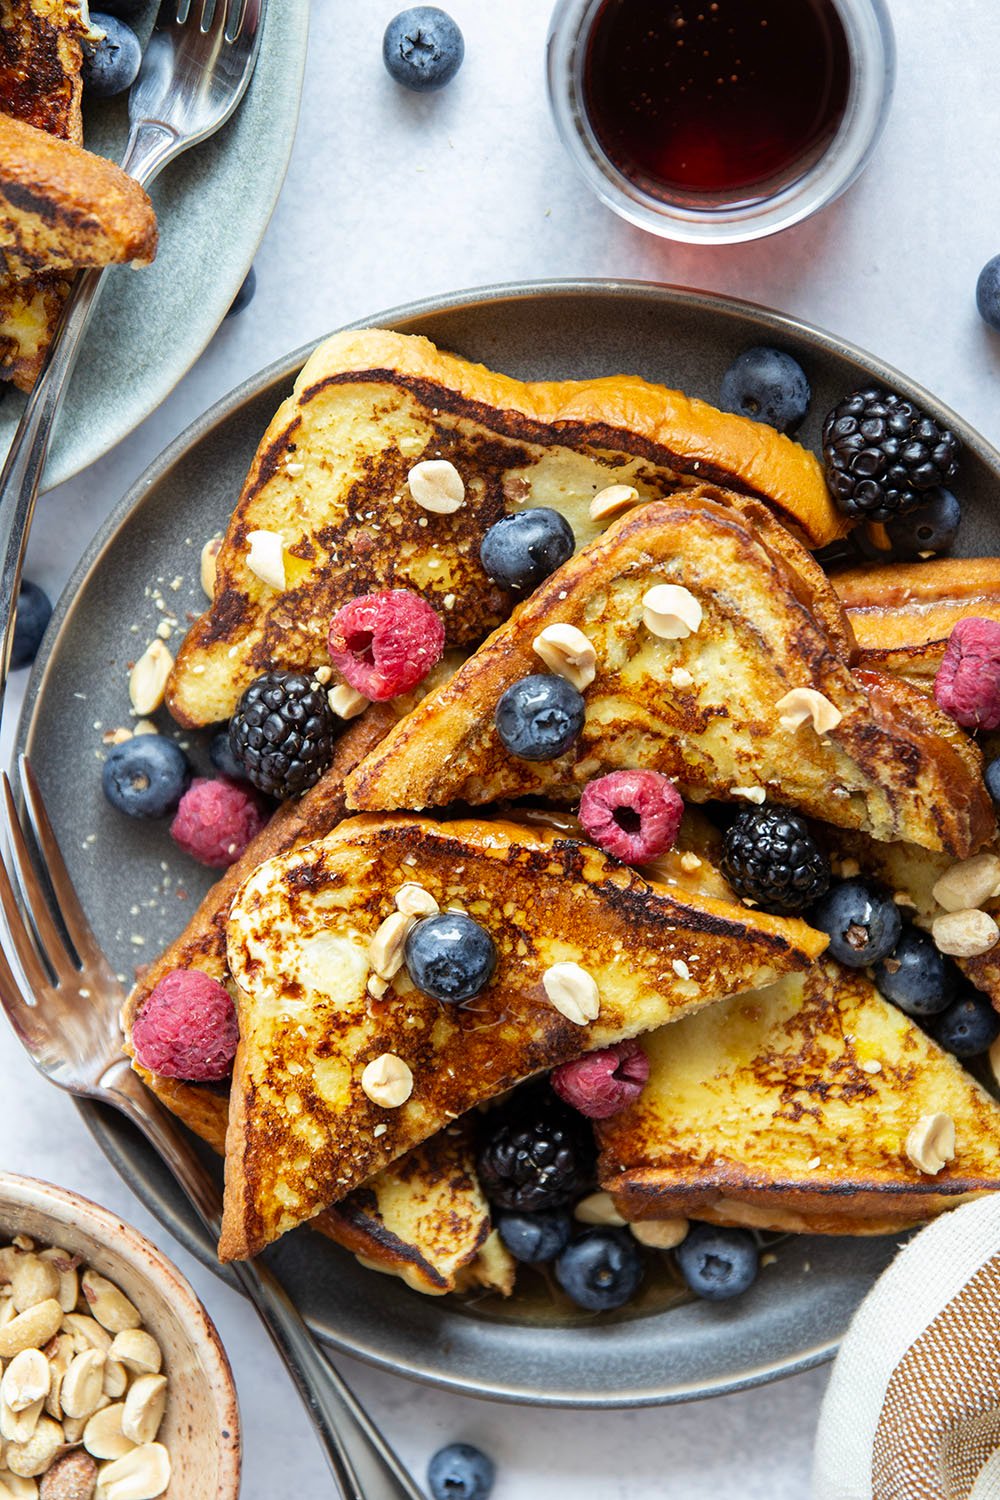
- Stuff French toast with fruit – add sliced strawberries, raspberries, blueberries, or banana slices to French toast filling.
- Use another nut butter – try almond butter or cashew butter instead of peanut butter.
- Top French toast with a fruit sauce – try strawberry, blueberry, raspberry, or peach.
One bite of this French toast and you may have just ruined a regular old PBJ for yourself forever. The gooey melted peanut butter and jam filling oozes out of the sweet brioche bread slices and coats everything in goodness.
A strong pour of maple syrup and we’re in business!
Save this recipe using the ‘save to recipe box’ button below. If you make it, please let us know! Leave a comment + star rating below, or take a photo and tag it on Instagram with #wholeandheavenlyoven.
Try these other incredible French toast recipes next!

Peanut Butter and Jelly French Toast
This recipe may included paid links. As an Amazon Associate, I earn a commission from qualifying purchases.
Ingredients
- 12 slices brioche or sweet bread
- 6 tablespoons creamy peanut butter
- 6 tablespoons fruit jam
- 3 large eggs
- 2/3 cup 2% or skim milk
- 1 tablespoon honey or agave nectar
- 1 teaspoon vanilla extract
- 1-2 tablespoons unsalted butter for cooking
- Maple syrup, fresh fruit, and chopped peanuts for serving
Instructions
- Spread 1 tablespoon peanut butter on 6 slices bread and 1 tablespoon jam evenly on remaining 6 slices bread. Form 6 sandwiches with bread slices.
- In a medium shallow bowl, whisk eggs well until smooth. Add milk, honey, and vanilla extract, whisking until smooth.
- Preheat a griddle or large skillet over medium-high heat and grease well with butter. Working in batches, dip stuffed bread in egg mixture and place on griddle or in skillet. Cook French toast 3-4 minutes per side, flipping once until golden brown. Repeat cooking with remaining bread, adding more butter as necessary.
- Serve French toast warm with maple syrup, fresh fruit, and chopped peanuts. Enjoy!
Notes
Nutrition
This post was updated with new recipe adjustments and photos on 6/5/25.


Leave a Reply