
Love King’s Hawaiian bread rolls? Once you try them homemade, you’ll never go back to storebought again. They’re so easy to make and have many make ahead options!
Let’s make some King’s Hawaiian Bread Rolls homemade today! Worth every carb, I promise.
And undoubtedly the ULTIMATE way to make a slider, a lunch sandwich, or just enjoy some homemade rolls hot from the oven.
I know the ease of packaged King’s Hawaiian sounds pretty enticing a lot of the time, but TRUST ME! These rolls are so easy to make, use basic ingredients, and are worth every second of effort.

And let’s be honest: the base of a sandwich is so SO important! These buns make for the ultimate mini sliders and soon you won’t be able to imagine your life without ’em!
These King’s Hawaiian Bread Rolls feature…
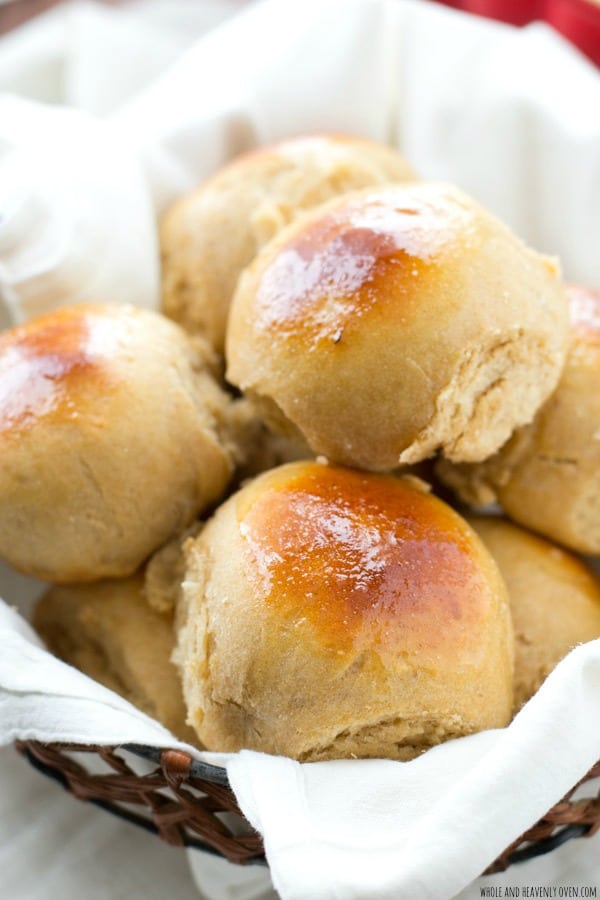
- A perfectly soft and fluffy texture inside
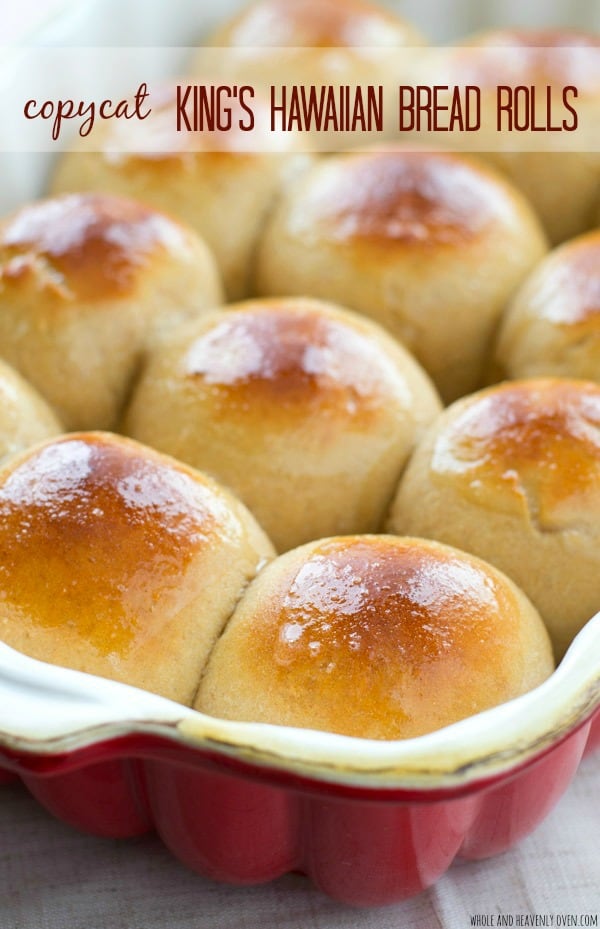
- A golden honey-glazed exterior
- REAL pineapple juice in the dough that gives these rolls their well-known King’s sweetness
- Several make ahead AND freezing options

Making the King’s Hawaiian Bread Rolls
(scroll to the bottom of the post for the full recipe!)
Making the Dough
This dough can be made either in a stand mixer or by hand in a mixing bowl if you don’t have a mixer!
Start by dissolving yeast in milk that’s been heated to 110F (careful not to let the milk get any hotter than 110F or you’ll kill the yeast!)
Mix pineapple juice, sugar, melted and cooled butter, an egg, and salt into the yeast mixture then begin adding flour until a soft dough forms (if dough seems too sticky, add additional flour by the tablespoon until dough comes together)
If you’re using a mixer, knead the dough on medium speed several minutes until dough is smooth and elastic when stretched.
If you’re making the dough by hand, turn dough onto a floured surface and knead several minutes until dough is smooth and elastic when stretched.
Form the kneaded dough into a ball and place in a greased bowl turning once to grease top. Cover with plastic wrap and let rise until doubled, about 1-1/2 hours.
Baking the Rolls
Punch the risen dough down and divide into 12 even portions. Roll each dough portion out into a smooth ball and place in a greased 9×13 baking pan.
Cover lightly with plastic wrap and let the rolls rise one last time until doubled, about 30 minutes.
Very gently brush the rolls with a honey egg wash and bake them at 375F until golden brown, about 20-25 minutes.
I recommend storing these rolls sealed at room temperature and enjoying within 3 days. Keep reading for make ahead options!
Make Ahead Options
Option 1: Let dough rise overnight. Make and knead the dough per recipe instructions. Omit rising the dough on the counter and instead place in greased bowl, cover with plastic wrap and let rise overnight in fridge or up to 12 hours.
The next morning, let dough sit out on counter (still covered in the bowl) for 30 minutes before shaping, letting them rise a second time, and baking as recipe directs.
Option 2: Freeze baked rolls up to 2 months. I recommend freezing them the day you baked them to preserve freshness (make sure they’re fully cooled before freezing) Thaw, reheat, and serve warm.

These rolls are seriously SO incredibly soft, perfectly sweet, and the perfect canvas for any sandwich you dream up.
Has there ever been a more glorious sight in the history of breadmaking? Not possible.
Get ready to constantly crave a sandwich when you have these rolls around!! It’s a good thing, trust me.

Looking for sandwich inspiration to try with these rolls? Check these recipes out!
- Grilled Blackened Chicken Sandwiches
- Barbecue Chicken Sliders with Peach Scallion Slaw
- Instant Pot Pineapple BBQ Beef Sandwiches
Watch these Hawaiian bread rolls made step-by-step on Google web stories!

Copycat King’s Hawaiian Bread Rolls
This recipe may included paid links. As an Amazon Associate, I earn a commission from qualifying purchases.
Ingredients
- 2-1/2 teaspoons active dry yeast
- 1/2 cup warm milk (110F)
- 3/4 cup pineapple juice
- 1/4 cup sugar
- 1/3 cup melted butter, cooled
- 1 large egg
- 1-1/2 teaspoons salt
- 3-1/2 to 4 cups all-purpose flour
- 1 egg white lightly beaten with 1 tablespoon water
- 2 tablespoons honey
Instructions
- In the bowl of a large stand mixer attached with a dough hook OR in a large bowl, dissolve yeast in warm milk. Let stand 5 minutes then mix in pineapple juice, sugar, melted butter, egg, and salt until combined.
- Add 3-1/2 cups flour to liquid mixture and mix until dough pulls away from sides of bowl (if dough seems too sticky, add 1 tablespoon flour at a time until dough is smooth and tacky)
- If using mixer, knead dough on medium speed until smooth and elastic, about 6-8 minutes. If making by hand, turn dough onto a floured surface and gently knead until smooth and elastic, about 6-8 minutes. Place dough in a large greased bowl, turning once to grease top. Cover bowl with plastic wrap and let rise until doubled, about 1-1/2 hours.
- Punch risen dough down and divide into 12 pieces. Roll dough pieces into smooth balls and place in a greased 9×13 baking pan. Cover pan with plastic wrap and let rise 30 minutes or until doubled.
- Remove plastic wrap from pan and gently brush rolls with egg white and honey. Bake rolls at 375F 20-25 minutes or until golden brown. Let rolls cool in pan at least 15 minutes, then remove from pan and serve warm.


Einar says
Great Recipe! I use to work as a Chef, so I just had to put kind of a twist on it. I followed the recipe and let the dough rise the first time. Then punched it down and flattened them out for just 6 larger rolls. and stuffed the 6 with homemade pulled pork with bbq sauce and formed them into the rolls and rise on a sheet tray covered for 30 minutes. Then brushed the tops with a mix of egg, honey and a little bbq sauce. Then baked them off like you wrote. My wife thought I was crazy, but of course she was wrong. Wow! were they Great!
I am definitely hanging on to this recipe for sure!
Sarah says
Oh my gosh, filling them with pulled pork is absolutely genius! Thanks for sharing your modifications, Einar! So happy to hear they were a hit. 🙂
Patti Spoeth says
Amazing, easy recipe! As a former pastry chef, I’ve tried a lot of bread recipes and absolutely love this one!
Sarah says
That’s amazing to hear, Patti! Thanks for reporting back! 🙂